DIY Bicycle Generator: Pedal-Powered Battery Charging (Realistic Guide)
A realistic DIY bicycle generator guide: expected wattage, safe charging architecture, build styles, sizing examples, limitations, and how to pair pedal power with solar + batteries.
Key takeaways
- Most people can sustain roughly 50–150W of mechanical output for an hour; electrical output will be lower after losses.
- Pedal power is usually best for charging small electronics or topping up a battery bank, not running high-demand appliances.
- The safest approach is: generator → rectifier → regulated DC charger → battery (with protection and disconnects).
- Pairing pedal power with solar is often ideal: solar does the bulk work; pedal power is an emergency / learning / maintenance option.
Table of contents
- Beginner explanation
- Costs, efficiency, and expected output
- How a bicycle generator works
- Choose your build style
- Generator options
- Practical DIY build steps
- Common mistakes and misconceptions
- How it pairs with solar
- Safety and limitations
- FAQ
Beginner explanation: what pedal power can (and can’t) do
A bicycle can produce meaningful mechanical power because human legs can sustain moderate effort efficiently. But the key word is moderate: human power is limited, and electrical systems have conversion losses.
The most common disappointment is confusing power (watts) with energy (watt-hours). A device might need 1,000W while running (power), but only for 10 minutes (energy). Or it might need 80W continuously for many hours.
If you want a quick refresher on the solar-side version of this concept, see: solar power basics and battery capacity.
How much energy can a person realistically make?
There’s a wide range depending on fitness, posture, gearing, and how long you pedal. For this guide, the goal is not to chase peak sprint watts; it’s to plan around what’s repeatable.
Rule-of-thumb planning numbers
- Beginner / casual: 30–80W sustained (mechanical)
- Typical fit adult: 50–150W sustained for an hour (mechanical)
- Trained cyclists: higher sustained power is possible, but most DIY off-grid designs shouldn’t depend on it
Convert mechanical watts to stored watt-hours
Stored energy is roughly: Wh stored ≈ (mechanical W) × (hours) × (overall efficiency). Overall efficiency includes generator + rectifier + charger + battery acceptance. A conservative DIY efficiency estimate is often 0.5 to 0.7.
Example: a person pedals at 120W mechanical for 45 minutes (0.75h), and your total efficiency is 0.6.
- Energy in: 120W × 0.75h = 90Wh
- Energy stored: 90Wh × 0.6 ≈ 54Wh
54Wh is enough to:
- Fully charge a modern phone (often ~10–15Wh usable) several times, depending on losses.
- Run a 10W LED light for about 5 hours.
- Make a noticeable dent in a small battery bank, but not “power a cabin” by itself.
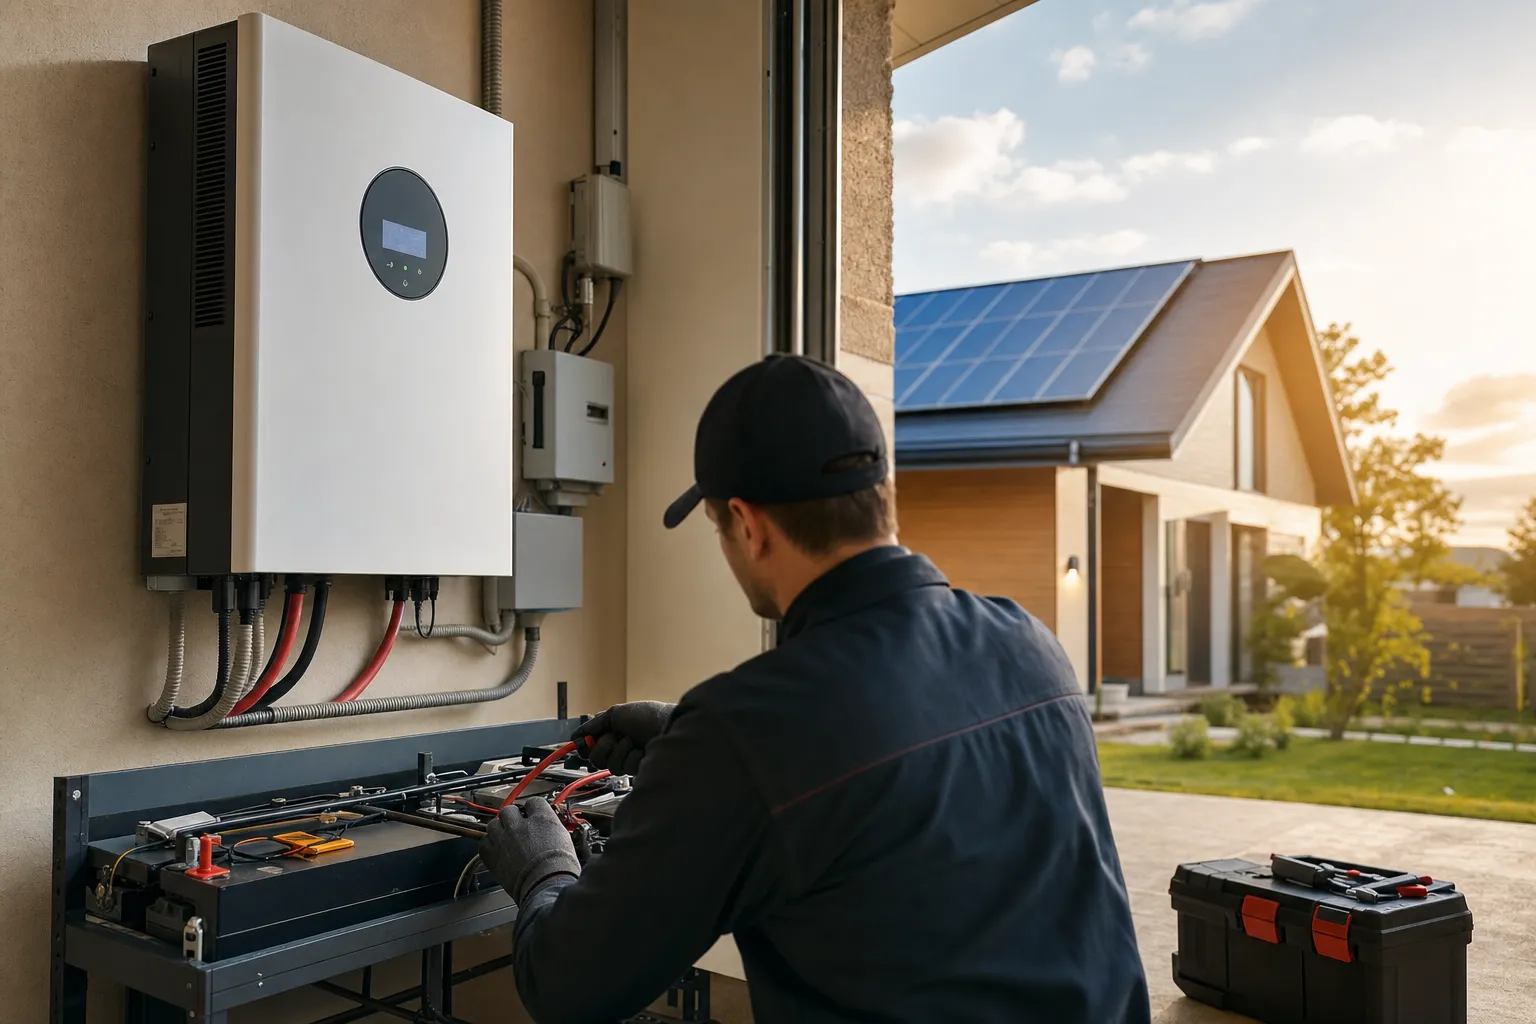
How a bicycle generator works
The core problem is that pedal generators are variable: voltage and frequency change with speed. Batteries are not forgiving if you overvoltage or overcurrent them. So you want a setup that produces variable power but delivers controlled charging.
Recommended block diagram
- Generator (AC alternator or DC generator)
- Rectifier (if generator is AC): AC → DC
- DC regulation / charger: limits voltage and current to safe levels
- Battery: lead-acid or lithium (with appropriate protections)
- Loads: either DC loads or an inverter for AC loads
Why “just wire it to the battery” is risky
Direct connection can cause dangerous voltage spikes (especially with no load), unpredictable current, and overheated wiring. It also makes the pedaling experience worse: resistance changes dramatically as battery voltage rises.
Treat the electrical side like a normal off-grid system. These existing guides cover the essentials:
Solar components explained → Wire size guide → Fuse and breaker sizing → Disconnect guide →
Choose your build style
The fastest way to make a bicycle generator useful is to make it comfortable, stable, and repeatable. Your mechanical setup determines how often you’ll actually use it.
Stationary trainer setup (most stable)
A trainer or fixed stand keeps the bike upright and lets you focus on cadence and measurement. It’s the best starting point for testing output and charging behavior.
Roller drive (simple, but can slip)
A roller against the tire is quick to prototype but can slip under load and can wear tires. If you go this route, prioritize alignment and consistent pressure.
Chain/belt drive (efficient, more fabrication)
A direct drive can reduce slip and improve efficiency, but it requires guards, alignment, and a safer mechanical enclosure. It’s a good “Version 2” once you’ve proven your electrical design.
Generator options (what actually works in DIY builds)
The “generator” in a pedal power system is simply a device that turns rotation into electricity. For DIY experiments, you’ll typically see a few practical categories.
Permanent-magnet alternator (PM alternator)
A PM alternator can produce useful power at a range of speeds, but it often needs rectification and regulation. The output voltage can climb quickly with cadence if unloaded, which is why the regulation stage matters.
DC motor used as a generator
Many brushed DC motors generate DC voltage when spun. They can be convenient for experimentation because they may simplify the rectifier step. However, they still need current limiting and safe wiring.
Hub motor / e-bike style motor (as a generator)
Some hub motors can be used as generators. The key considerations are matching speed (so you generate usable voltage at comfortable cadence) and using appropriate rectification and regulation.
Whichever path you choose, design for predictable, safe charging rather than peak watts. A comfortable system that stores energy consistently is more useful than a high-watt setup that is stressful to pedal.
Battery choices: 12V vs 24V vs 48V for pedal power
A pedal generator is typically a low-power source. That pushes many DIY builds toward 12V because it’s common and works with small DC loads. But there are tradeoffs.
12V
- Pros: common accessories; easier to find small chargers; fine for phone/laptop charging workflows.
- Cons: higher current for a given power, which makes wire size and losses more significant.
24V / 48V
- Pros: lower current for the same wattage; wiring is easier for longer runs; better for larger inverters.
- Cons: pedal generator voltage regulation may be more complex; fewer “small DC” accessories directly.
If you’re picking a voltage for a broader off-grid build, use: 12V vs 24V vs 48V solar. For many people, pedal power is a supplement to a system where the battery voltage is already decided.
What can pedal power realistically run?
A good mindset is to think in three buckets: direct DC charging, battery topping, and “appliance dreams.”
Great targets
- Charging phones and small USB devices
- Charging laptops (through an appropriate DC charger or inverter)
- Running efficient LED lighting
- Educational experiments to validate your energy budget
Possible but not fun
- Small DC tools or fans for short periods
- Small 12V refrigeration top-ups (depends heavily on efficiency and duty cycle)
Usually unrealistic as a primary plan
- Space heaters, kettles, microwaves
- Air conditioning
- Anything that wants sustained kilowatts
If you want to learn “what does it take to run an appliance,” the best bridge is inverter sizing: solar inverter sizing.
Worked examples (from pedaling to real device use)
These examples use intentionally conservative assumptions. They’re meant to help you plan a build that feels achievable and safe.
Example 1: phone charging buffer
- Pedaling output into charger: 60W electrical (after generator/rectifier losses)
- Pedaling time: 30 minutes
- Energy delivered: 60W × 0.5h = 30Wh
That 30Wh can cover multiple phone recharges when used through a well-designed USB charging path. You’ll still lose some energy in conversion, but it’s a very achievable use case.
Example 2: laptop top-up via inverter
- Pedaling output into battery: 80W electrical
- Time: 45 minutes
- Energy into battery: 80W × 0.75h = 60Wh
- Inverter + charger losses: assume you only get ~45–55Wh to the laptop battery
This is where people really feel the impact of losses. Inverter-based workflows can be convenient, but if you can charge DC-to-DC more directly (where safe and compatible), it’s often more efficient.
Example 3: “Can I run a fridge?”
A fridge is usually an energy problem (Wh/day), not a constant-watts problem. But pedal power still struggles because the total daily energy is typically large relative to what a human can comfortably supply. Pedal power may help as an emergency top-up, but solar and storage are the realistic primary solution.
Common mistakes and misconceptions
Pedal power builds tend to fail in predictable ways. Use this section as a checklist before you assume your generator “isn’t strong enough.”
- Voltage spikes with no load: your system needs a regulation stage and/or a safe load path.
- Very hard to pedal: the generator is overloading at that cadence or the gearing is mismatched; reduce load or change drive ratio.
- Very easy to pedal but no charging: open circuit, bad rectifier wiring, or the charger won’t enable because voltage is outside its operating window.
- Charging starts then stops: wiring is overheating or voltage drop is causing the charger to brown out.
- Battery “won’t charge”: could be full, could be BMS protection, could be charger settings; compare against: battery not charging troubleshooting.
Many of these issues come down to wiring and protection. If you haven’t already, read: wire size and fuse/breaker sizing.
Practical DIY build steps (milestone checklist)
If your goal is a clean experiment rather than a complicated machine, keep the scope small. A minimal build is easier to instrument, safer to test, and more likely to be completed.
- Decide the target: USB charging, a 12V battery top-up, or a known DC load.
- Pick the battery (or buffer): small 12V battery or a known power bank to keep voltages manageable.
- Choose regulation: a charger that limits current/voltage to the battery’s safe range.
- Add protection: fuse/breaker near the battery and a disconnect you can reach quickly.
- Instrument it: measure voltage and current so you can compute watts and watt-hours.
- Plan for heat: mount the rectifier/regulator where it can shed heat safely.
If you want to connect this experiment back to bigger system decisions, the most relevant reads are: system sizing and components.
How it pairs with solar
Pedal power shines when you treat it like a backup charger and a learning tool:
- When solar is low (stormy week), pedal power can keep communications topped up.
- It can help you validate a battery’s health (can it accept charge normally?).
- It can help you “feel” the difference between powering DC loads directly and using an inverter.
A common hybrid approach is: solar handles the bulk charging during daylight, the battery carries loads overnight, and pedal power is a controlled top-up when needed. If you’re still planning system economics, see: solar system cost breakdown and DIY vs installer cost.
Safety and limitations
A pedal generator combines mechanical and electrical hazards. Keep your build conservative: the goal is safe, repeatable charging — not peak power.
- Mechanical safety: guard chains/belts and rotating shafts; prevent the bike from tipping; ensure a stable mount.
- Electrical protection: add a fuse/breaker near the battery and follow correct disconnect practices.
- Heat: rectifiers, converters, and wiring can get hot at higher currents; mount components appropriately.
- Battery safety: lithium batteries require correct charging behavior and a working BMS; lead-acid has gassing and ventilation considerations.
Use these as baseline references for safe DC systems: fuse and breaker sizing and fuses vs breakers.
FAQ
Can I charge a battery using a solar charge controller?
Sometimes, but be careful. Many solar charge controllers expect PV-like input behavior and have specific voltage ranges. A pedal generator can produce variable voltage and may exceed controller limits at high cadence. If you use a controller, ensure the input stays within its rated voltage/current and consider a regulation stage before it.
How long would I need to pedal to “replace” a solar panel?
Think in watt-hours. A 100W solar panel might produce a few hundred Wh on a decent day. If you store ~60Wh per hour of pedaling, you may need several hours to match that — and that’s why solar is usually the primary source. Use: solar panel output to estimate your panel’s daily Wh.
Is pedal power worth it for emergencies?
For keeping phones/radios charged, it can be. For running heat or big appliances, it’s not. The value is reliability (you are the fuel) and education.
What’s the biggest beginner mistake?
Designing around peak watts instead of comfortable sustained power. A build that charges 30–80W safely and pleasantly will get used; a build that demands 250W will sit unused.
For a reliable off-grid baseline, pedal power works best as a supplement to a solid solar + battery setup: solar components, battery sizing, and protection sizing.
Suggested images & diagrams
- Diagram: pedal generator block diagram (generator → rectifier → DC charger → battery → inverter/loads).
- Chart: watts vs time vs watt-hours (e.g., 50W for 2h = 100Wh).
- Diagram: where to place the fuse and disconnect near the battery.
- Photo: stable stationary bike mount / trainer setup (illustrative, not brand-specific).
- Table: example “what can it run?” list (phone, lights, laptop) with approximate Wh.
Next logical reads
DIY off-grid energy experiments (pillar) → Micro-hydro basics guide → Battery capacity calculator → System sizing guide → Solar maintenance →