Solar Battery Not Charging: Troubleshooting Checklist (MPPT, Wiring, Loads)
Solar battery not charging? Use this safe checklist to narrow the cause: sunlight vs shading, charge controller status, battery state, wiring/protection, and load vs charge balance.
Table of contents
Key takeaways Before you troubleshoot: what “not charging” really means Step 1: Rule out “normal low input” (weather, season, shading) Step 2: Check the controller status (bulk/absorption/float) Step 3: Confirm the battery isn’t already full (or limited by BMS) Step 4: Compare charge current vs load (net charging) Step 5: Inspect wiring, fuses/breakers, and connections Common mistakes FAQ Next logical reads
Key takeaways
- “Not charging” is often low solar input (clouds, winter sun angle, new shading) rather than a failed component.
- Charge controllers may show little or no current when the battery is already near full (float/maintenance behavior).
- Many “charging problems” are actually net load problems: the system is producing power, but loads are consuming it.
Solar maintenance checklist Low solar output troubleshooting
Before you troubleshoot: what “not charging” really means
You’re the hero here: you want a system that’s predictable. The plan is to define the symptom precisely.
- No charging current on the controller display/app
- Battery percentage or voltage not increasing over time
- Loads shutting down due to low voltage even on sunny days
If possible, write down the time of day, weather, and what loads were on. That context often explains the result.

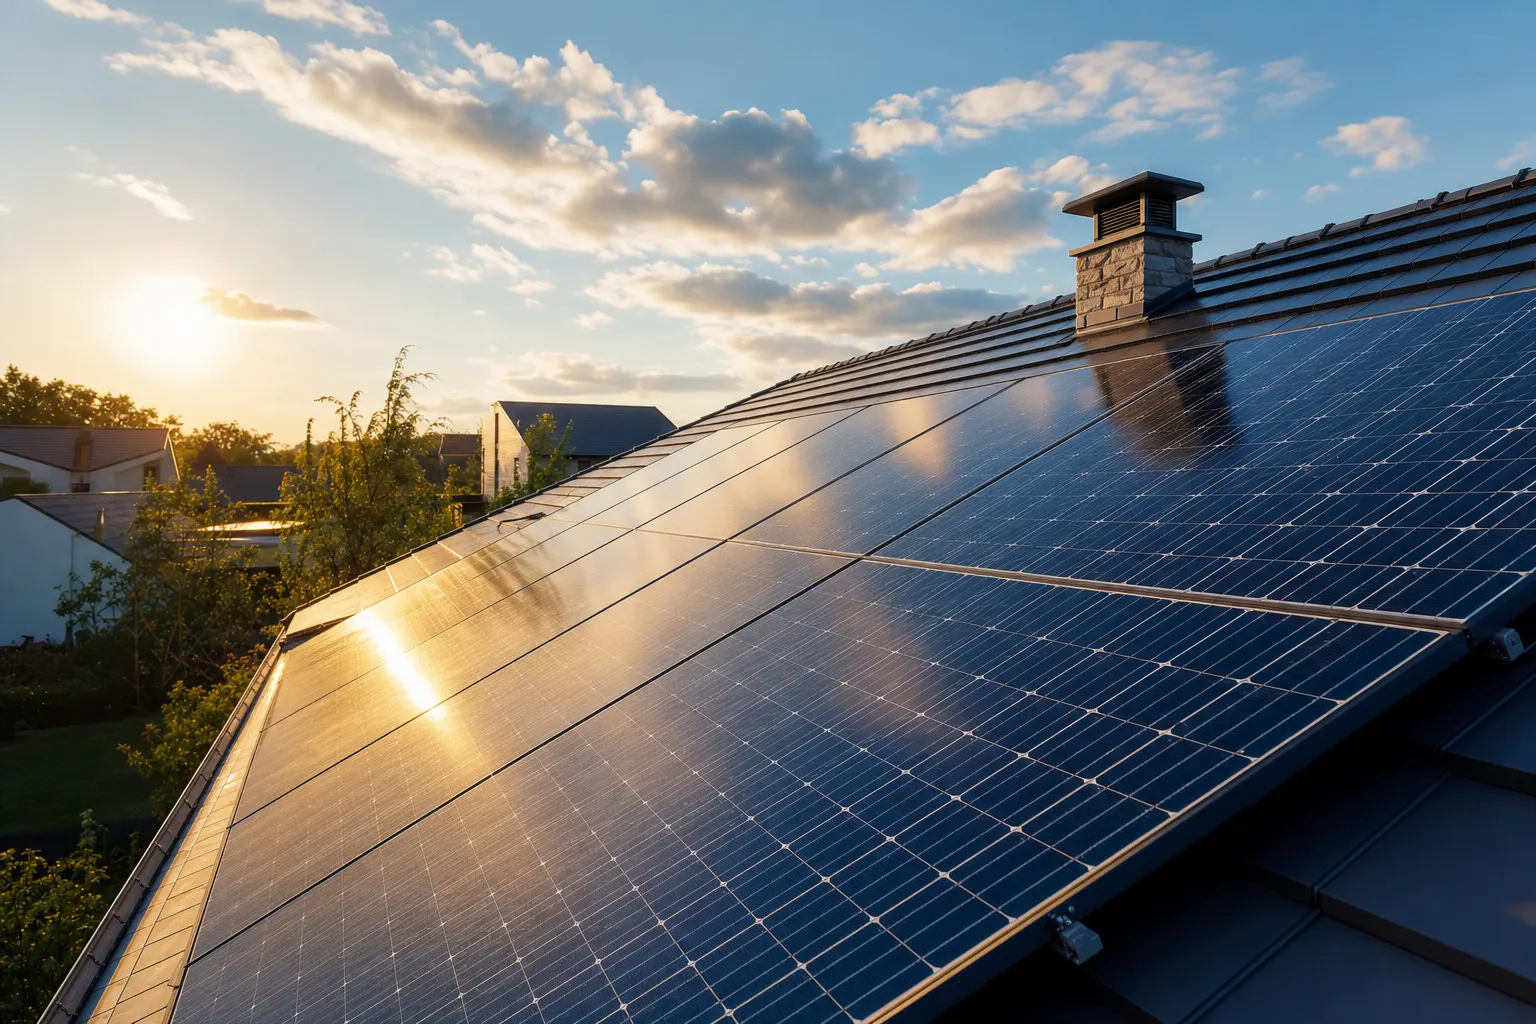
Step 1: Rule out “normal low input” (weather, season, shading)
Batteries charge when solar input exceeds loads. On cloudy days (or in winter), your panels may be producing far less than you’re used to.
- Compare to the same season, not summer peak output.
- Check for new shading (trees grow, sun path changes, snow cover).
- Confirm expectations using a quick estimate.
Expected daily Wh ≈ Panel watts × Peak sun hours × Efficiency
Solar panel output calculator Solar power basics
Step 2: Check the controller status (bulk/absorption/float)
Many controllers reduce current on purpose as the battery approaches full. That can look like “not charging” when it’s actually normal float behavior.
Look for the charging stage
- Bulk: high current (when available) while the battery is low
- Absorption: current tapers as voltage is held near the target
- Float: maintenance level once the battery is near full
MPPT vs PWM charge controllers MPPT not charging? (checklist)
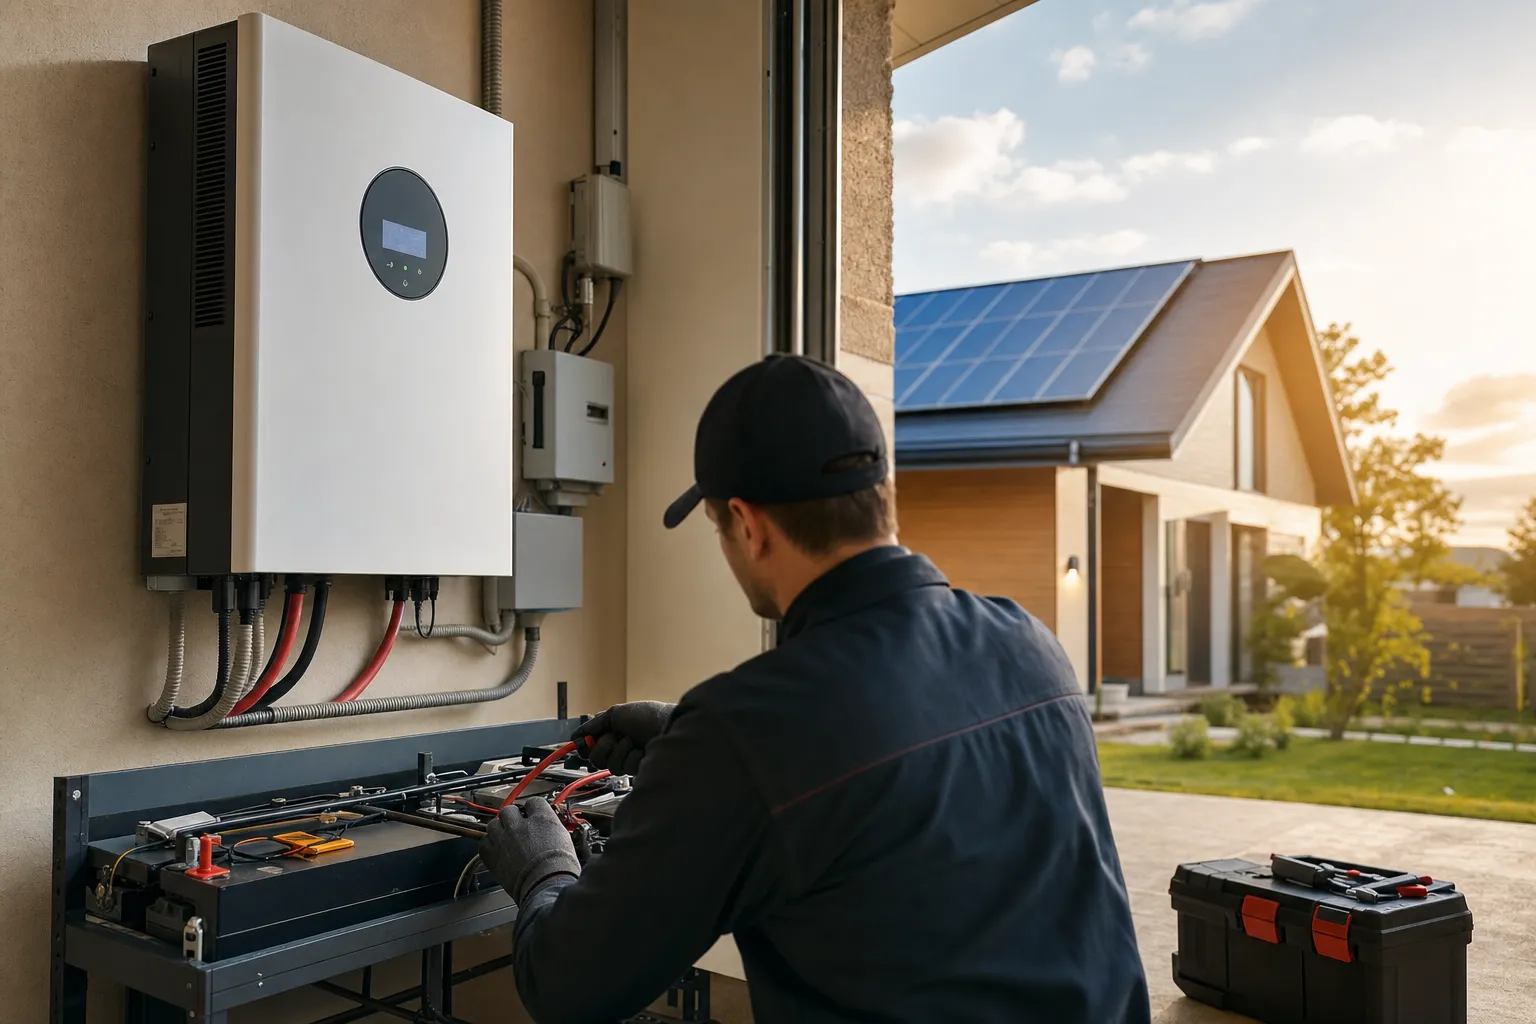
Step 3: Confirm the battery isn’t already full (or limited by BMS)
A battery can “refuse charge” for reasons that are protective rather than broken.
- Battery already near full: the controller will reduce current.
- Cold-temperature limits: many lithium batteries restrict charging when cold.
- BMS protection: the battery may limit current or disconnect charging under certain conditions.
The safest approach is to use your battery manufacturer’s documentation and app (if available) rather than guessing.
Li-ion vs lead-acid batteries Battery capacity calculator
Step 4: Compare charge current vs load (net charging)
If loads are high, the battery may not rise even with solar present. This shows up as “controller says charging, battery stays flat.”
- If possible, turn off non-critical loads briefly and see whether net charge changes.
- Check whether a new load was added (space heater, fridge mode change, pumps, battery charger).
- Verify inverter idle draw if you’re off-grid.
Inverter sizing (battery draw basics) Inverter keeps shutting off (troubleshooting)
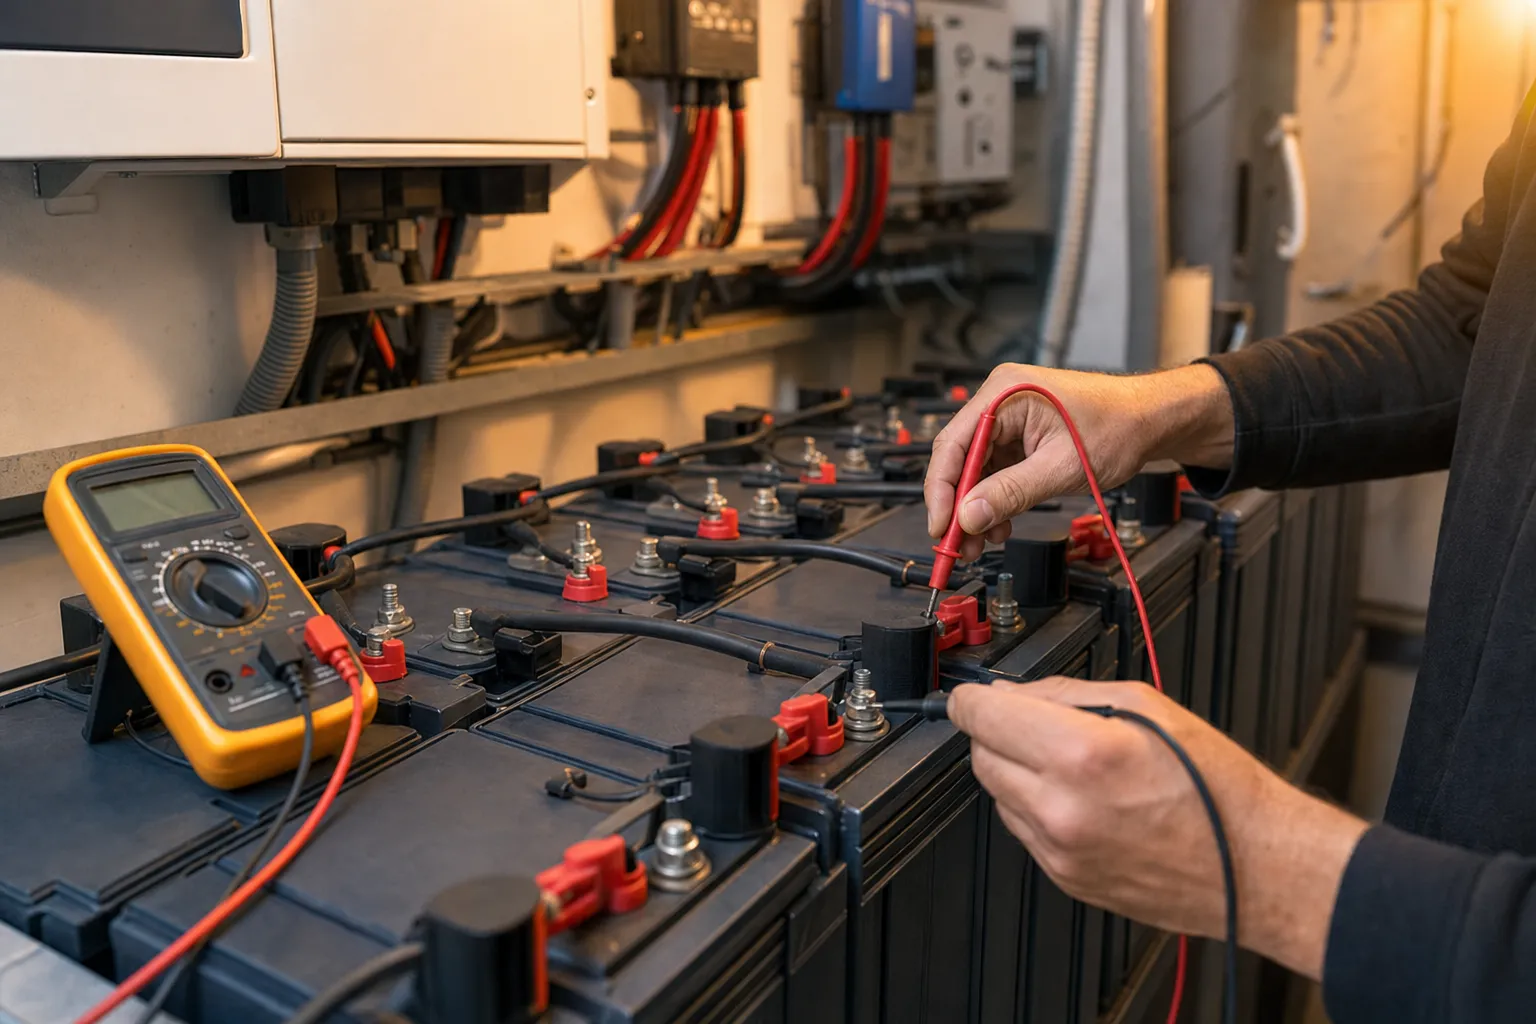
Step 5: Inspect wiring, fuses/breakers, and connections
A loose connection can behave like a resistor: it limits current and creates heat. This is where you should be conservative: if you see discoloration, melted insulation, or hot terminals, stop.
- Look for obvious issues: loose lugs, corrosion, damaged insulation, tripped breakers.
- Verify DC ratings: protection devices should be DC-rated for your voltage.
- Check the “highest-current run”: battery-to-inverter cabling (if you have an inverter).
Solar wiring decisions (hub) Solar fuse and breaker sizing Battery cable size for inverters
Common mistakes (and what they look like)
- Assuming the controller is broken on cloudy days: low input is the most common “cause.”
- Ignoring charging stage: float/absorption taper can look like “no charge.”
- Chasing battery percentage only: look at trends over time with the same loads and conditions.
- Oversizing loads without resizing the system: net load overwhelms net charge.
- Reusing non-DC-rated protection hardware: creates real safety risk.
FAQ
Why is my solar battery not charging during the day?
Common causes include low sun input (weather/season/shading), a battery that’s already near full (float), high loads consuming the charge, or wiring/protection issues limiting current.
How do I tell if my charge controller is working?
Look for PV input readings, charging stage indicators, and whether battery voltage/current changes when conditions and loads change. Use the controller’s manual/app indicators as the primary reference.
Can a full battery look like “not charging”?
Yes. In float mode the controller may show low current because it’s only maintaining charge.
Why does charging stop when it’s cold?
Many lithium batteries limit charging at low temperatures to avoid damage. This can appear as zero charge current until the battery warms.
When should I call a professional?
If you see heat damage, smell burning, find melted insulation, or can’t verify DC ratings and safe isolation points, stop and contact a qualified professional.
Next logical reads
Low solar output troubleshooting MPPT not charging? (checklist) Inverter keeps shutting off (troubleshooting) Solar maintenance checklist How to size a solar system