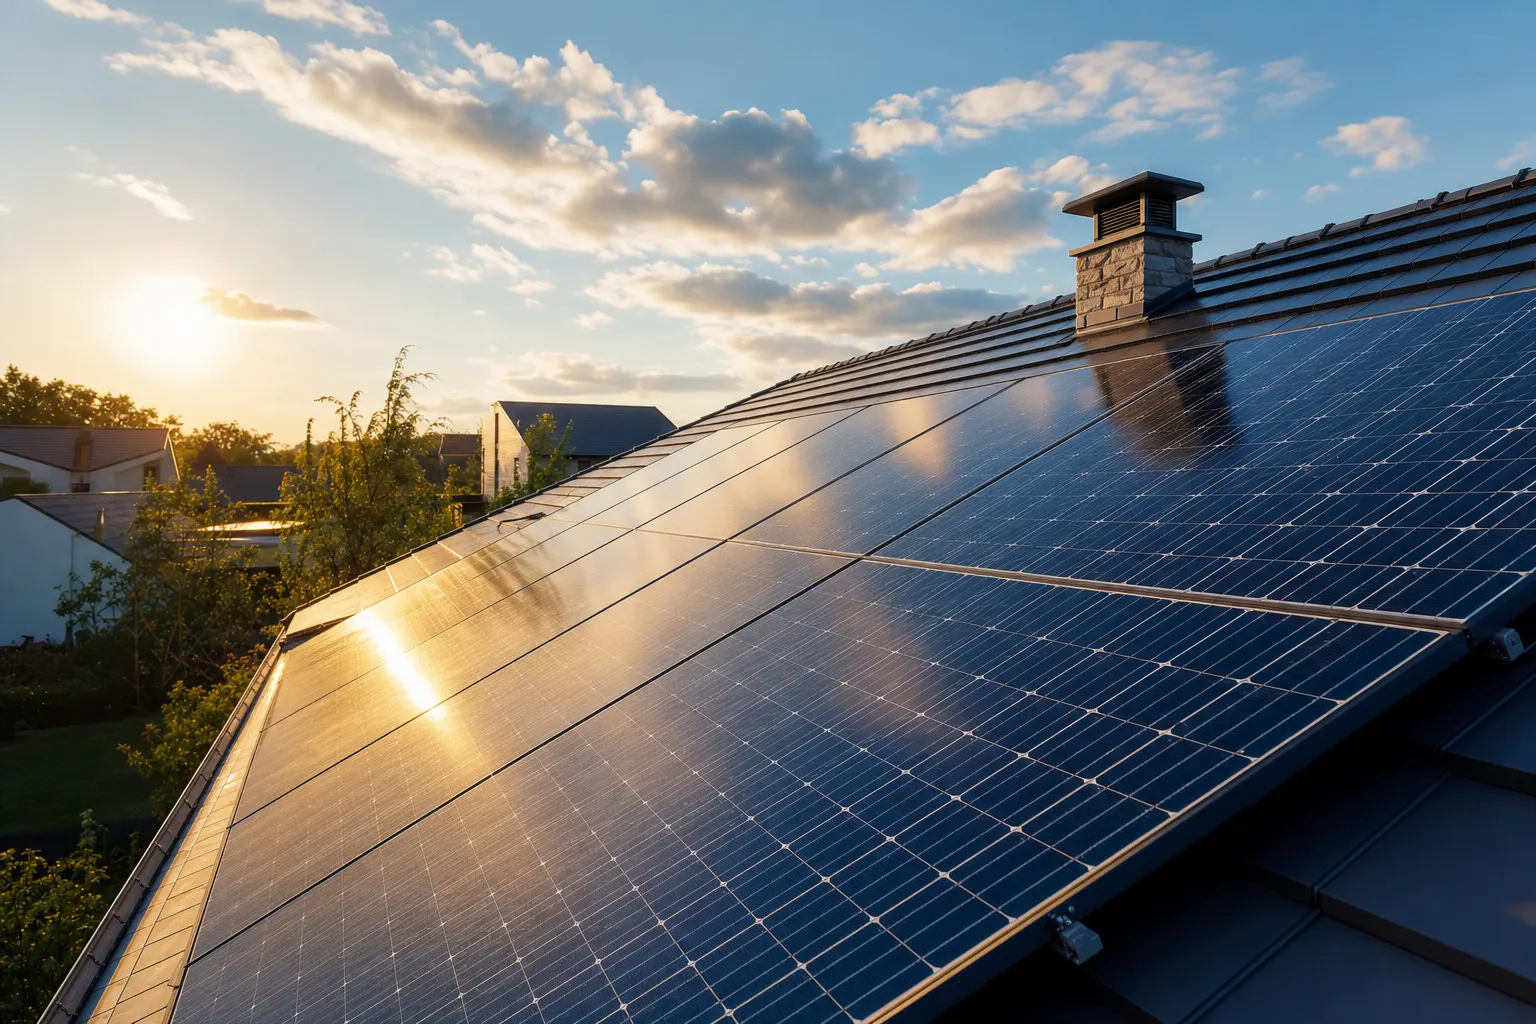
Low Solar Output: Troubleshooting Checklist (Common Causes)
Troubleshoot low solar output: weather vs seasonal effects, shading, dirty panels, inverter issues, and simple checks to identify the cause.
Key takeaways
- Weather and seasonality are the most common explanations for lower production.
- Shading changes and dirty panels are frequent, fixable causes.
- Inverter alerts and monitoring data often point to the root cause.
Step 1: Rule out normal seasonal and weather effects
Cloud cover, shorter days, and lower sun angle can significantly reduce output. Compare production to the same time of year, not to summer peaks.
Solar panel output calculator Solar power basics
Step 2: Check for new shading
Trees grow and shadows shift with the season. Even partial shading can reduce output, depending on system design. Look for new shade patterns at the times you expect peak production.
If you have panel-level monitoring, it can make shading problems obvious.
Step 3: Inspect for visible soiling (dirt, pollen, bird droppings)
Heavy soiling can reduce output, especially when it’s uneven. If you see clear buildup, cleaning may help.
Solar panel cleaning cost (DIY vs pro) Solar maintenance checklist
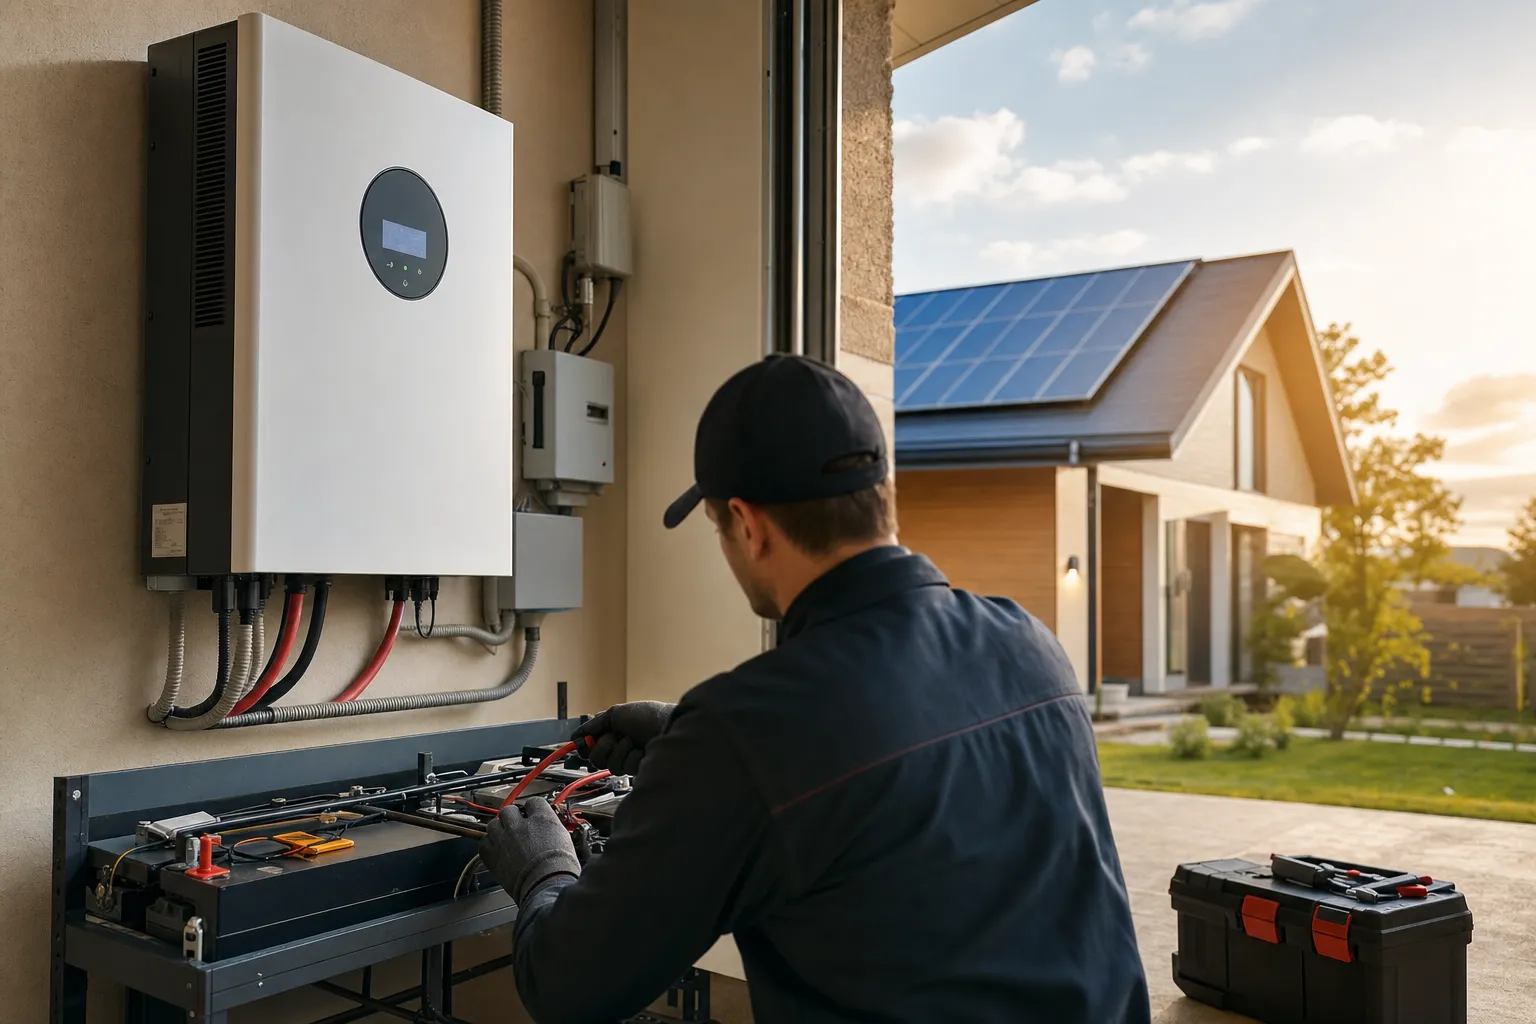
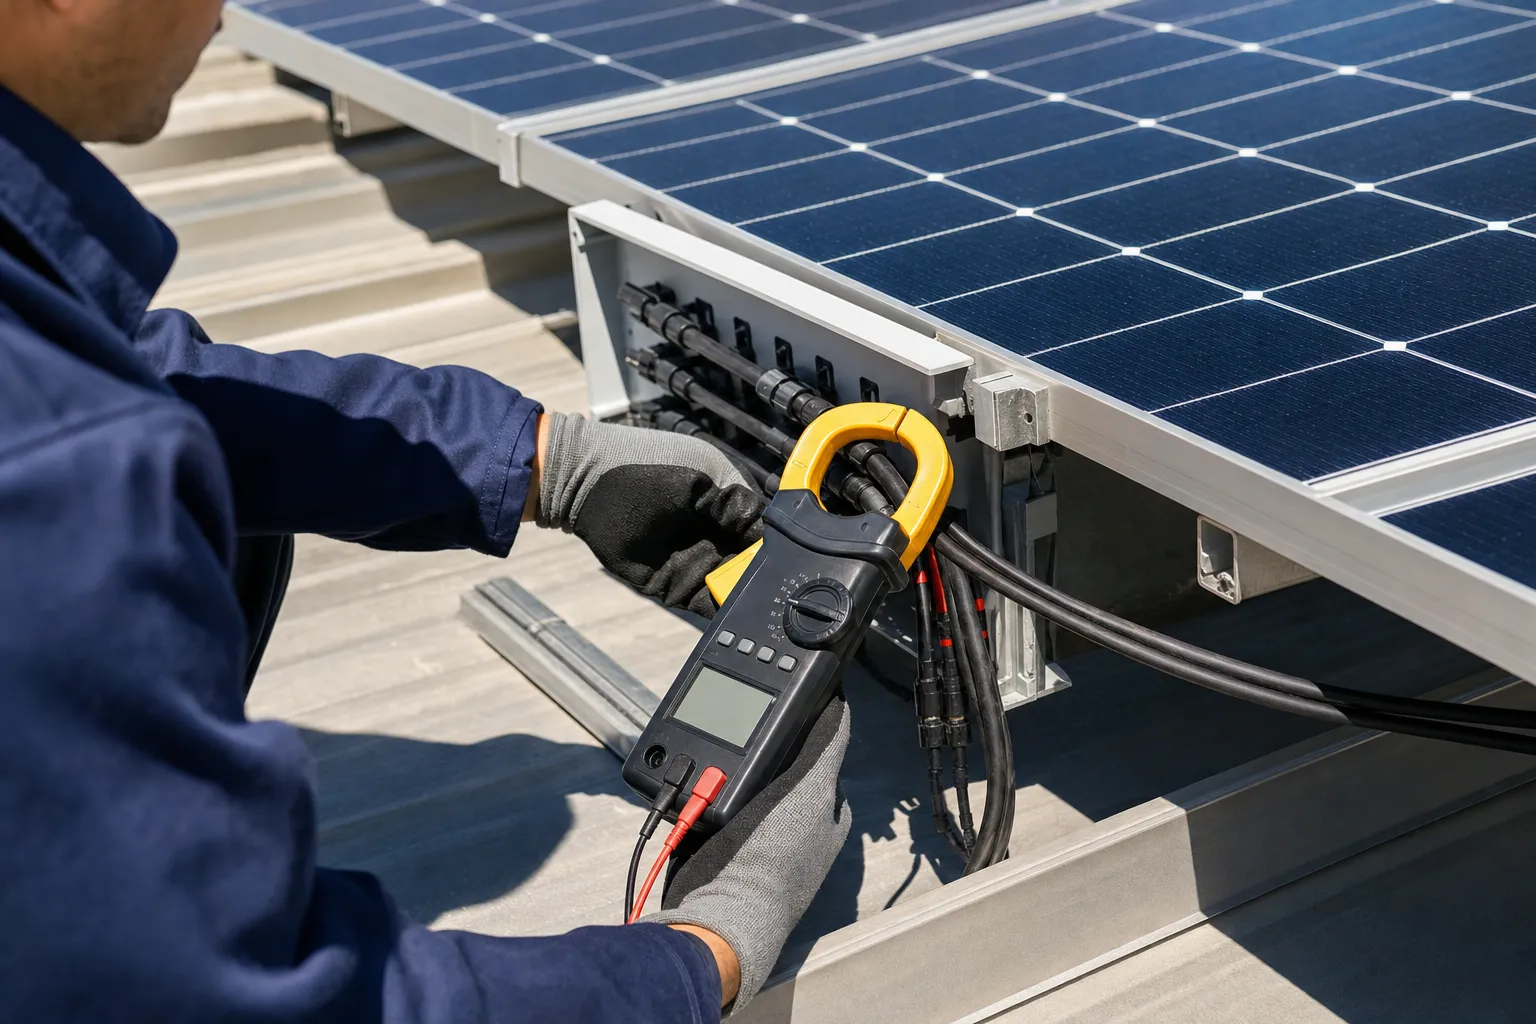
Step 4: Check inverter status and alerts
Inverter warnings, faults, or a unit that frequently disconnects can cause sustained production loss. Review your monitoring portal or inverter display for messages.
Solar components overview How to size an inverter (concepts) Inverter keeps shutting off (troubleshooting)
Step 5: Compare expected vs actual using a simple estimate
If your panel wattage and peak sun hours are similar to normal, but your output is significantly lower over many days, you likely have a system issue worth investigating.
Expected daily Wh ≈ Panel watts × Peak sun hours × Efficiency
This is an estimate, but it helps quantify whether the drop is meaningful.
FAQ
Why did my solar output drop suddenly?
Common causes include weather changes, new shading, inverter faults, tripped breakers, or heavy soiling.
How much does dirt reduce solar output?
It varies. Light dust may have little impact, while heavy or uneven soiling can reduce output more noticeably.
Should I clean panels first or check the inverter?
Check monitoring and inverter status first. If everything looks normal and you see heavy soiling, cleaning can be the next step.
When should I call a professional?
If you see faults you don’t understand, repeated inverter shutdowns, burning smells, damaged wiring, or you can’t access the system safely.
Next logical reads
Solar panel cleaning cost Solar maintenance checklist Solar battery not charging MPPT controller not charging How to size a solar system Solar system cost breakdown