DIY vs Installer Solar Cost Comparison
Solar Powered Project
1 min read
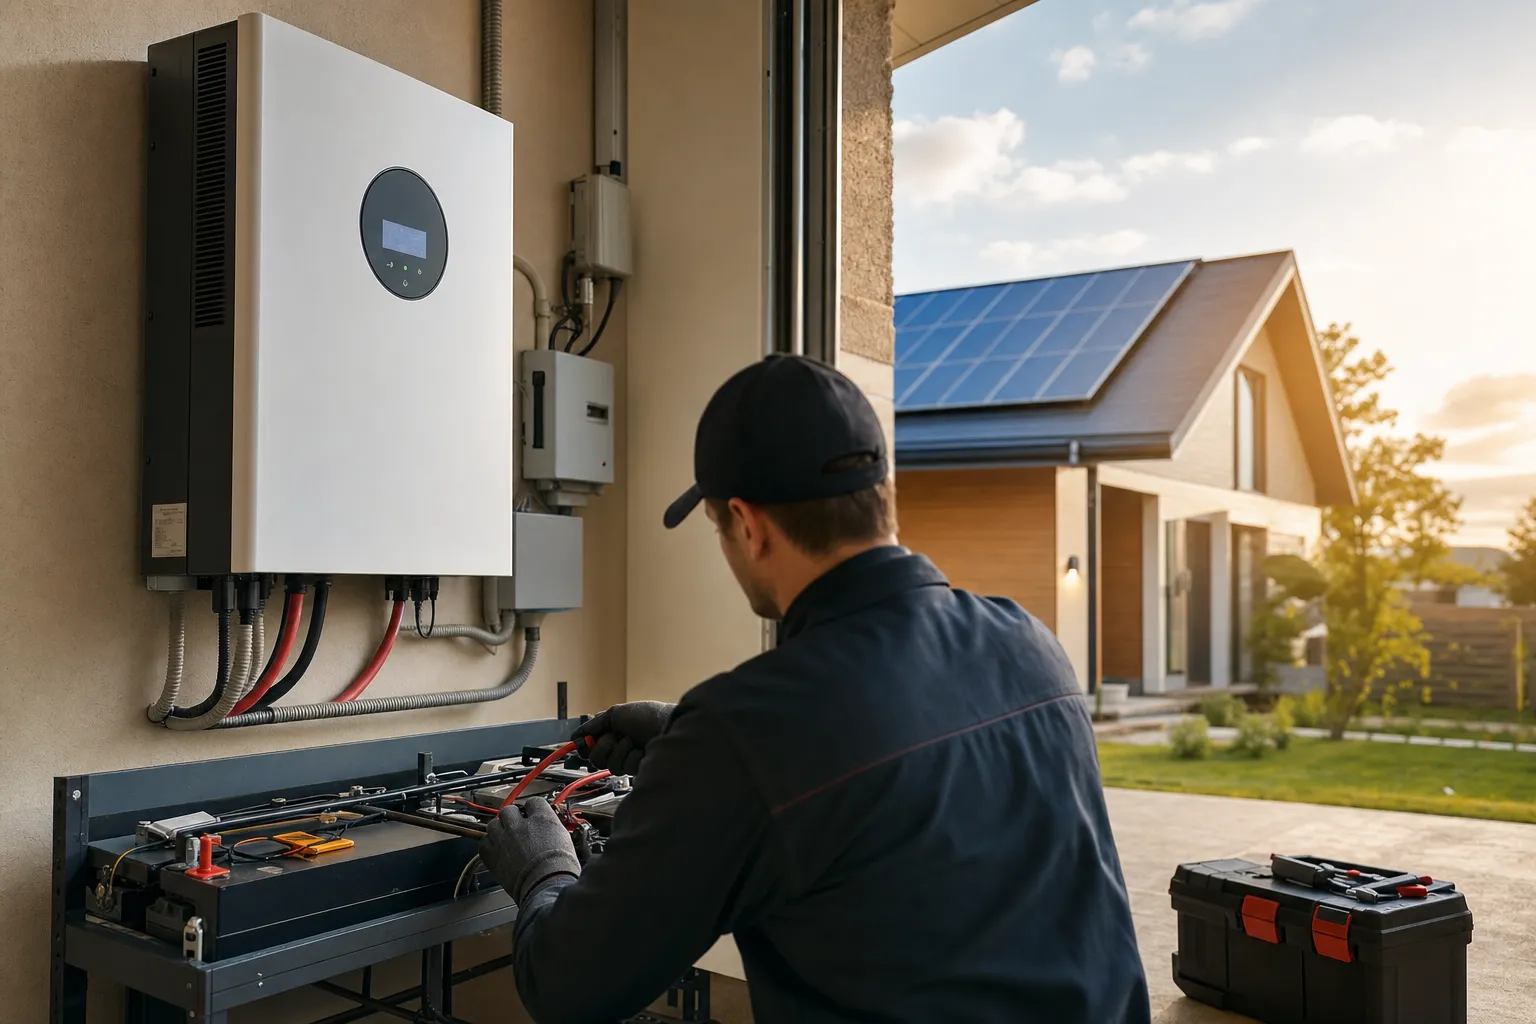
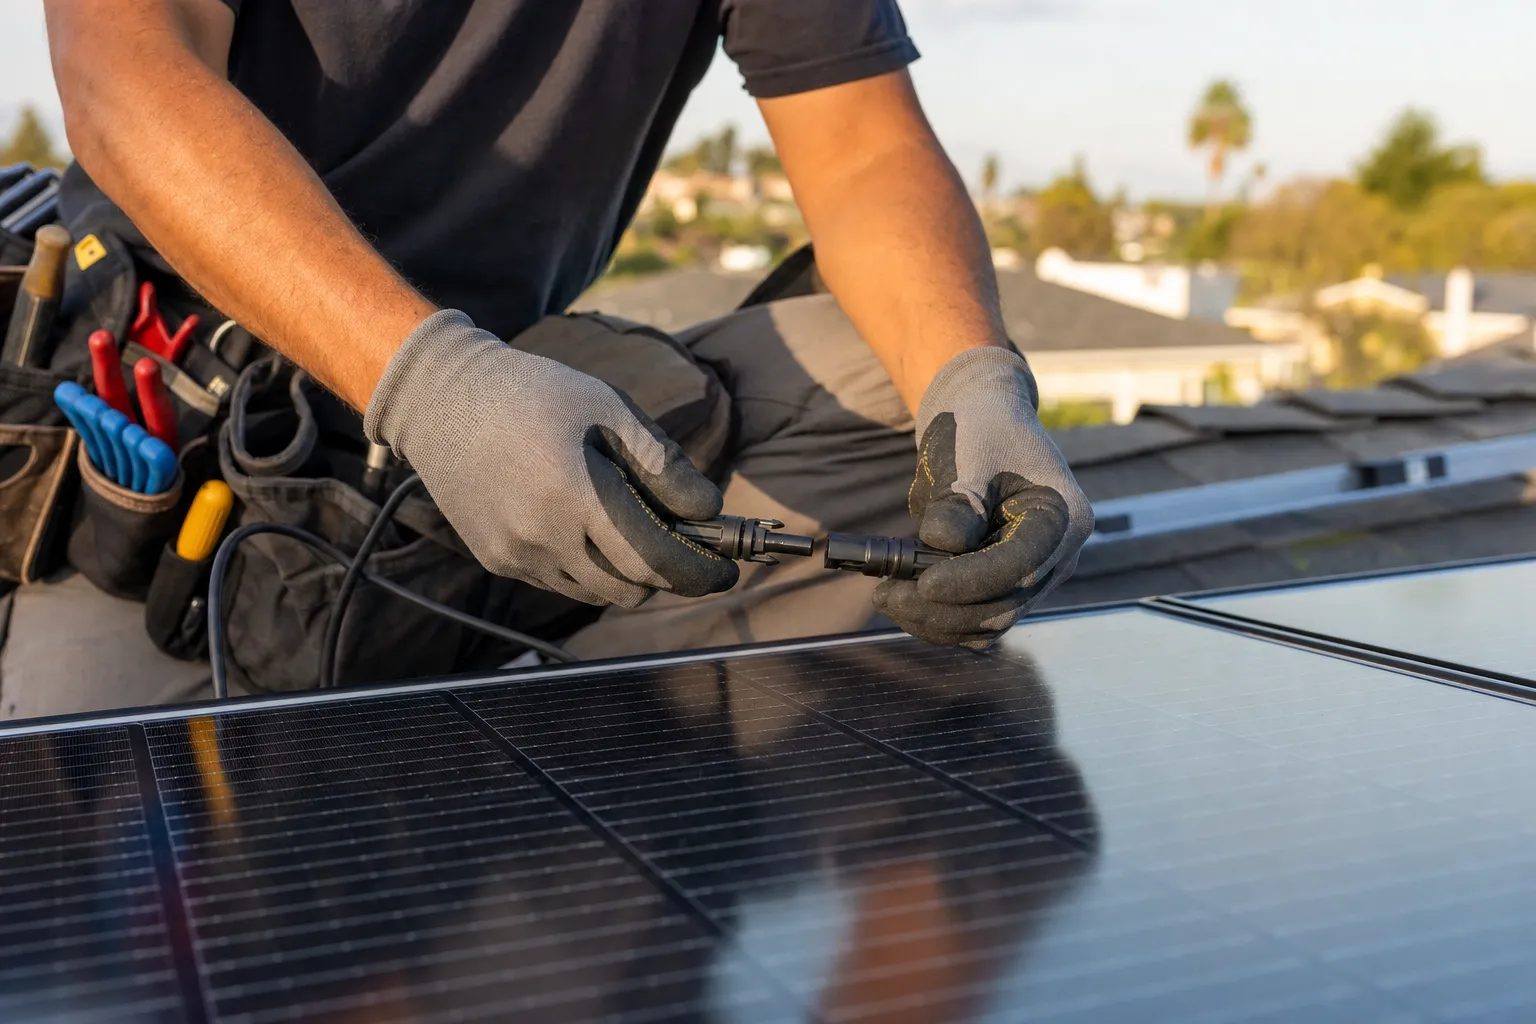
Compare DIY solar costs vs professional installation, including labor, permits, and long-term reliability.
Quick comparison
| Factor | DIY | Installer |
|---|---|---|
| Upfront cost | Lower | Higher |
| Time required | High | Low |
| Risk | Higher | Lower |