DIY Stirling Engine Generator: Turn Heat Into Electricity (Educational Build)
A realistic DIY Stirling engine generator guide: thermodynamics basics, Carnot efficiency limits, realistic power output, heat sources, and where it fits as a supplemental off-grid solar experiment.
Key takeaways
- Stirling engines use external combustion in a closed cycle, making them fuel-flexible (wood, propane, solar thermal, waste heat).
- Theoretical maximum efficiency follows the Carnot limit: η = 1 – (T_cold / T_hot), but real-world engines hit 5–15%.
- Typical DIY or kit-based Stirling generators produce milliwatts to a few watts, not grid-scale power.
- Precision machining matters: seal friction, dead volume, and internal leaks kill efficiency faster than anything else.
- Best use case: Educational demonstrations of thermodynamics, combined heat and power concepts, and off-grid experimentation.
- Coupling to a generator requires careful speed matching, vibration isolation, and voltage regulation for battery charging.
Table of contents
- Beginner explanation
- How a Stirling engine generator works
- Practical DIY build options
- Sizing and expected power output
- Costs, efficiency, and maintenance
- Electrical design for generator output
- Common mistakes and misconceptions
- Safety and limitations
- How Stirling engines pair with solar
- FAQ
Beginner explanation: what a Stirling engine is
Most engines you’ve seen (car engines, lawnmowers, generators) burn fuel inside a cylinder. That’s internal combustion.
A Stirling engine burns fuel outside the cylinder and transfers heat through a metal wall. That’s external combustion.
The elegance is in the simplicity: no valves, no timing belts, no spark plugs. Just a sealed chamber of gas (often air or helium) that expands when heated and contracts when cooled, driving a piston back and forth.
External combustion and closed-cycle operation
The working gas stays inside the engine permanently. It doesn’t exhaust like in a car engine; it just cycles between hot and cold, expanding and contracting.
This means you can use any heat source: wood fire, propane burner, solar concentrator, even waste heat from another process. The engine doesn’t care — it only “sees” the temperature of the hot-side wall.
Hot side, cold side, and temperature difference
Stirling engines have two key temperatures:
- T_hot: Temperature of the heat input side (heated cylinder or heat exchanger).
- T_cold: Temperature of the cooling side (often air-cooled fins or water jacket).
The bigger the temperature difference (T_hot – T_cold), the more power and efficiency you can theoretically extract. But real-world friction, seals, and heat leakage limit what you actually get.
Mechanical motion from thermal expansion/contraction
Inside the engine, a displacer piston shuttles the gas between the hot and cold zones. When the gas is on the hot side, it expands and pushes a power piston outward. When it’s moved to the cold side, it contracts and the piston is pulled back.
This back-and-forth motion drives a crankshaft (like a conventional engine), which you can couple to a generator.
Why efficiency is low (Carnot limit, real-world losses)
The theoretical maximum efficiency of any heat engine is the Carnot efficiency:
η_Carnot = 1 – (T_cold / T_hot)
Temperatures must be in absolute units (Kelvin).
Example: T_hot = 500K (227°C), T_cold = 300K (27°C).
η_Carnot = 1 – (300/500) = 0.40 = 40%.
But that’s the thermodynamic ceiling. Real Stirling engines lose efficiency to:
- Seal friction: Piston rings and gaskets create drag.
- Dead volume: Gas trapped in non-working spaces reduces pressure swing.
- Heat leakage: Conduction through cylinder walls steals temperature difference.
- Incomplete heat transfer: Gas doesn’t reach equilibrium with walls in fast cycles.
Practical efficiency for DIY or small commercial Stirling engines: 5–15% under ideal conditions, often closer to 3–8% in crude builds.
How a Stirling engine generator works
To turn a Stirling engine into a battery charger, you need five subsystems working in harmony.
Heat source (flame, solar concentrator, waste heat)
The heat source determines fuel cost, sustainability, and operational complexity.
- Propane or butane burner: Clean, adjustable, easy to control. Good for benchtop demos. Fuel cost adds up.
- Wood fire or alcohol lamp: Low-cost fuel (or free if you have wood scraps). Harder to control temperature precisely.
- Solar concentrator (parabolic mirror or Fresnel lens): Free energy once built, but only works in direct sun. Fascinating hybrid solar-thermal + Stirling.
- Waste heat recovery: Mount the engine on a woodstove flue or industrial process exhaust. Harvests otherwise-wasted energy.
Engine displacer and power piston
Most DIY Stirling engines use a beta or gamma configuration:
- Beta type: Displacer and power piston in the same cylinder. Compact, easier to build, but higher dead volume.
- Gamma type: Displacer and power piston in separate cylinders. Lower dead volume, better efficiency, more complex.
- Alpha type: Two power pistons, no displacer. Highest power density but hardest to seal and build.
The displacer moves the working gas between hot and cold zones. The power piston extracts mechanical work from the pressure oscillations.
Mechanical output (shaft rotation)
The power piston drives a crankshaft, flywheel, or other rotary mechanism. The flywheel stores kinetic energy to smooth out the pulsing piston strokes and keep the engine running through dead spots in the cycle.
Typical speeds: 100–3,000 RPM depending on engine size and load.
Coupling to generator (DC motor, alternator)
The output shaft couples to a generator to produce electricity. Options:
- Small DC motor as generator: Permanent magnet motors work in reverse. Match rated speed to engine RPM.
- Stepper motor: Can generate at low RPM but produces pulsed output that needs smoothing.
- Automotive alternator: Needs 1,000+ RPM and field excitation. Overkill for most Stirling builds.
- Custom coil and magnet generator: For advanced builders who want to optimize impedance matching.
Coupling methods: direct shaft (if speeds match), belt drive (allows speed adjustment), or gearbox (increases RPM for generator).
Electrical regulation and battery charging
Generator output voltage varies with engine speed and load. You need regulation to charge a battery safely:
- DC-DC buck/boost converter: Stabilizes voltage to battery charging range (12V, 14.4V, etc.).
- Charge controller: Can use a simple solar PWM controller if generator voltage is 15–30V.
- Rectifier + capacitor: If using AC generator or stepper motor, rectify to DC and smooth with caps.
Practical DIY build options
Stirling engines require precision. Unless you have machining skills or a kit, start simple and small.
Path A — Kit-based learning model (minimal fabrication)
Educational Stirling engine kits cost $30–$300 and include pre-machined parts. You assemble them like a model kit.
Pros:
- No machining required.
- Parts are precision-fit for decent efficiency.
- Focus on learning thermodynamics, not fabrication.
- Safe (low power, low temperature).
Cons:
- Low power output (10–500mW typical).
- Not designed for electrical generation — mechanical demo only unless you add a generator.
- Limited customization.
Recommended for: Beginners, classrooms, understanding the Stirling cycle before scaling up.
Path B — DIY from scratch (machining required)
Building a Stirling engine from raw materials (aluminum, brass, steel) requires:
- Lathe for turning cylinders and pistons
- Drill press for precise holes
- Taps and dies for threads
- Patience for iterative fitting and testing
Design resources:
- Plans available online (many free, some paid).
- Common starter projects: LTD (Low Temperature Differential) engines, coffee-can Stirling, gamma-type with glass cylinder.
Pros:
- Full control over size, materials, and optimization.
- Can scale up to 5–50W if well-designed.
- Deep learning experience.
Cons:
- Steep learning curve.
- Easy to waste time on poor seals or wrong tolerances.
- Material and tool costs can exceed $200–$500.
Path C — Hybrid approach (modify existing engine)
Some builders modify air compressors, pneumatic motors, or even model steam engines into Stirling configurations.
This requires mechanical intuition and willingness to experiment, but it can save machining time on cylinders and pistons.
Choosing displacement and temperature difference
Power output scales roughly with:
- Displacement volume: Larger pistons = more power (but also more friction and heat loss).
- Temperature difference (ΔT): Higher ΔT = more efficiency and power.
- Cycle frequency (RPM): Faster cycling = more power, but heat transfer becomes incomplete at very high RPM.
For a first build, target:
- Displacement: 10–50 cm³
- T_hot: 100–300°C (achievable with propane burner or alcohol lamp)
- T_cold: Ambient (20–30°C with passive air cooling)
- Expected output: 100mW – 5W depending on build quality
Sizing and expected power output
Stirling engines are notoriously optimistic in marketing claims. Real-world power is almost always lower than calculations suggest.
Theoretical efficiency (Carnot limit)
Maximum possible efficiency for any heat engine operating between T_hot and T_cold:
η_max = 1 – (T_cold / T_hot)
Example 1: T_hot = 373K (100°C), T_cold = 293K (20°C)
η_max = 1 – (293/373) = 0.214 = 21.4%
Example 2: T_hot = 573K (300°C), T_cold = 293K (20°C)
η_max = 1 – (293/573) = 0.489 = 48.9%
But these are ceilings, not targets. Real engines will achieve 20–40% of Carnot efficiency.
Real-world efficiency (often <15%)
Practical Stirling engine efficiency depends on:
- Seal quality: Piston ring friction and gas leaks kill efficiency fast.
- Regenerator effectiveness: High-end Stirling engines use a regenerator (porous matrix) to pre-heat/cool the gas. DIY builds often skip this.
- Heat exchanger design: Poor thermal contact between gas and hot/cold surfaces reduces efficiency.
- Dead volume: Gas trapped in non-swept spaces reduces pressure ratio.
Typical real-world efficiency:
- Crude DIY build: 2–5%
- Quality kit or careful DIY: 5–10%
- Engineered commercial Stirling: 10–20% (micro-CHP units, research engines)
- Lab-optimized research engines: 20–40% (rare, expensive)
Example builds: milliwatts to a few watts
| Build type | Heat input | Efficiency | Electrical output |
|---|---|---|---|
| Kit model (demo only) | 10–50W (candle) | 1–3% | 0.1–1W (mechanical, not electrical) |
| DIY low-temp differential (LTD) | 20–100W | 1–2% | 0.2–2W |
| DIY gamma or beta (propane burner) | 200–1000W | 3–8% | 5–50W electrical (after generator losses) |
| Commercial micro-CHP Stirling | 5,000–10,000W (natural gas) | 10–15% | 500–1,500W electrical |
Heat input vs electrical output
If you burn 500W of propane (measured by fuel flow rate and energy density), and your engine + generator system is 5% efficient overall:
Electrical output = 500W × 0.05 = 25W
The other 475W becomes waste heat (exhausted from the cold side, or radiated from the engine body).
For combined heat and power (CHP), that waste heat can be useful (heating a room, water, etc.), making effective efficiency much higher.
Runtime and fuel consumption
Example: You want to charge a 12V, 35Ah battery (420Wh capacity) from empty using a Stirling generator producing 10W.
Charge time = 420Wh / 10W = 42 hours of continuous operation.
If your engine consumes 200W of propane fuel to make 10W electrical (5% efficiency):
Total fuel energy = 200W × 42h = 8,400 Wh = 8.4 kWh.
At $0.10/kWh energy cost (propane equivalent): fuel cost ≈ $0.84 to charge the battery.
Compare to charging the same battery from grid power (90% charger efficiency): 420Wh / 0.9 = 467Wh = 0.47 kWh at $0.10/kWh = $0.05.
The Stirling approach costs 17× more in fuel for the same result. It only makes sense if fuel is free (waste heat, wood scraps, solar thermal) or if you value the waste heat for heating.
Costs, efficiency, and maintenance
Stirling engines are elegant but expensive per watt of output, especially when you factor in build time and fuel costs.
Build material costs (precision parts matter)
Kit-based build:
- Educational kit: $30–$150
- Generator coupling (small DC motor): $10–$30
- Voltage regulator: $5–$20
- Fuel source (candle, alcohol): $5–$10
- Total: $50–$210
DIY from-scratch build (gamma or beta type):
- Raw materials (aluminum, brass, steel stock): $50–$150
- Seals, bearings, fasteners: $20–$60
- Generator (DC motor or custom): $20–$100
- Burner or heat source: $10–$50
- Voltage regulation and wiring: $20–$50
- Machining time (if paying for shop access): $100–$500
- Total: $220–$910
Cost per watt: $10–$200/W depending on output and build approach. Compare to solar at $0.30–$1/W.
Efficiency losses (seal friction, heat leakage, conversion)
Losses compound through multiple stages:
- Thermal losses: Heat escapes through cylinder walls, bypassing the gas. Insulation helps but adds complexity.
- Seal friction: Piston rings create drag. Loose seals reduce friction but leak gas, lowering pressure. Tight seals reduce leaks but increase friction.
- Mechanical friction: Bearings, crankshaft, flywheel all dissipate energy as heat.
- Generator losses: Small DC motors are 50–80% efficient when used as generators. Add voltage regulation losses (5–15%).
Overall system efficiency (fuel heat → battery charge): 2–10% for DIY builds.
Maintenance: lubrication, seal wear, alignment
Stirling engines need regular attention:
- Lubrication: Oil bearings and crankshaft every 10–50 hours of operation. Use high-temp oil if engine runs hot.
- Seal inspection: Check piston rings and gaskets for wear every 50–100 hours. Replace if compression drops.
- Alignment check: Misaligned pistons or bent crankshafts cause excessive friction. Inspect and straighten as needed.
- Cleaning: Soot and carbon buildup on hot-side surfaces reduce heat transfer. Clean every 20–100 hours depending on fuel type.
Fuel/heat source costs
If running on purchased fuel:
- Propane: $2–$4 per pound. One pound contains ~21,000 BTU (~6 kWh). At 5% efficiency, you get 0.3 kWh electrical per pound = $7–$13 per kWh of battery charge.
- Alcohol (denatured ethanol): $10–$20 per gallon (~84,000 BTU). At 5% efficiency: ~$15–$30 per kWh electrical.
These costs are absurd compared to grid power ($0.10–$0.30/kWh) or solar ($0.05–$0.15/kWh amortized).
Stirling makes economic sense only with:
- Free waste heat (woodstove you’re already burning, industrial exhaust)
- Free biomass (wood scraps, agricultural waste)
- Combined heat and power (CHP) where you value the waste heat for space/water heating
Electrical design for generator output
Coupling a Stirling engine to a battery charging system requires matching speeds, managing vibration, and regulating variable voltage.
Generator coupling and speed matching
Stirling engine shaft speed depends on heat input, load, and flywheel inertia. Typical range: 100–2,000 RPM.
Generator requirements:
- Small DC motor (toy, drill motor): Optimal RPM often 1,000–5,000. Needs speed-up gearing or belt drive from slow Stirling.
- Stepper motor as generator: Works at low RPM (100–500) but produces pulsed DC. Needs rectification and filtering.
- Custom low-RPM generator: Wind turbine generators or custom-wound coils can generate useful voltage at 100–500 RPM. Best match for Stirling, but expensive or requires coil-winding skills.
Coupling methods:
- Direct shaft coupling: Simple if speeds match. Requires careful alignment to avoid vibration and bearing wear.
- Belt or pulley drive: Allows speed ratio adjustment (e.g., 1:5 to spin generator faster). Absorbs some vibration.
- Gearbox: Compact, fixed ratio, but adds cost and friction losses.
Voltage regulation (boost/buck converters)
As engine speed varies, generator voltage swings. Example: At 500 RPM, generator produces 6V. At 1,500 RPM, it produces 18V.
To charge a 12V battery safely:
- Buck-boost converter: Accepts wide input range (e.g., 3–30V) and outputs stable 14.4V for charging.
- PWM solar charge controller: Can work if generator voltage stays above battery voltage (15V+). Simpler than boost converter but less flexible.
- Linear regulator: Only if voltage is always above target. Wastes excess voltage as heat. Not recommended for variable-speed systems.
Battery charging and protection
- Fuse near battery: Sized for maximum charging current (e.g., 2A fuse for a 20W system at 12V).
- Blocking diode: Prevents battery from motoring the engine backward when it’s not running or when RPM drops.
- Overvoltage protection: Zener clamp or converter with overvoltage shutdown to protect battery from runaway engine speed.
Monitoring and instrumentation
For educational or optimization purposes, measure:
- Engine RPM: Tachometer, optical sensor, or count crank rotations manually.
- Hot-side and cold-side temperatures: Thermocouples or IR thermometer.
- Generator voltage and current: Voltmeter and ammeter at generator output and battery input.
- Fuel consumption: Weigh propane bottle before/after, or measure alcohol/fuel volume used.
Calculate efficiency: (Electrical energy out) / (Fuel energy in).
Common mistakes and misconceptions
Stirling engines are unforgiving of sloppy fabrication and unrealistic expectations.
Expecting high efficiency
Even well-designed commercial Stirling engines rarely exceed 20% efficiency. DIY builds achieving 5–10% are doing well.
Don’t design around “theoretical Carnot efficiency” — that’s a ceiling, not a target.
Poor thermal insulation and heat leakage
If heat conducts through the cylinder wall from hot side to cold side (bypassing the gas), temperature difference collapses and power drops.
Mitigation:
- Use low-conductivity materials (stainless steel, ceramic) for hot/cold transition zones.
- Insulate the hot cylinder with fiberglass, ceramic wool, or air gaps.
- Actively cool the cold side with fins, fans, or water jackets.
Ignoring seal friction and air leaks
Loose piston seals leak gas, reducing pressure and power. Tight seals reduce leaks but create friction that steals mechanical output.
This is the core engineering trade-off in Stirling design. Use graphite-impregnated piston rings or PTFE seals for low-friction, low-leak operation.
Mismatched generator load causing stalling
If the generator electrical load is too high, it creates electromagnetic braking that slows or stalls the engine.
Start with no load (or a small resistor) and gradually increase load while monitoring RPM. Find the sweet spot where power output is maximized without bogging down the engine.
Overlooking cold-side cooling needs
The cold side must reject heat continuously. If it heats up, temperature difference (ΔT) shrinks and power drops.
For engines producing over 5W, passive air cooling is often insufficient. Add a fan (can be powered by the generator itself once running) or water cooling.
Safety and limitations
Stirling engines are safer than internal combustion engines (no explosions, low RPM), but fire and pressure risks exist.
High-temperature material selection
The hot cylinder can reach 300–600°C depending on heat source.
- Use stainless steel, brass, or aluminum for hot-side components. Avoid plastics or low-temp solder.
- Thermal paste and gaskets must be rated for operating temperature.
- Fasteners near the hot side can loosen due to thermal expansion. Use lock washers or thread-locking compound.
Fire safety with combustion heat sources
Open flames (propane, alcohol, wood) require:
- Stable, non-flammable base: Metal or stone surface, not wood or plastic.
- Clearance from combustibles: Minimum 12 inches from walls, curtains, paper.
- Ventilation: Combustion produces CO and CO₂. Run in well-ventilated areas or outdoors.
- Fire extinguisher nearby: ABC-rated extinguisher within reach.
Mechanical hazards (rotating parts)
Flywheels, crankshafts, and belts can catch fingers, hair, or loose clothing.
- Add guards or shields around rotating parts.
- Secure loose wires and keep hands clear during operation.
- Stop engine before making adjustments or measurements.
Pressure vessel considerations (if applicable)
Most DIY Stirling engines operate at near-atmospheric pressure or slight overpressure (1–2 bar). This is generally safe.
Some designs use pressurized working gas (helium or hydrogen at 5–20 bar) for higher power density. These require:
- Pressure vessel certification or engineering review
- Pressure relief valves
- Leak testing before operation
Not recommended for beginners.
When Stirling is educational vs practical
Build a Stirling generator if:
- You want to learn thermodynamics hands-on.
- You have access to free waste heat or biomass fuel.
- You’re exploring combined heat and power (CHP) concepts.
- You enjoy mechanical fabrication and experimentation.
Don’t build one if:
- You need cost-effective off-grid power (solar is 20–100× cheaper per watt).
- You lack machining skills or tools.
- You expect it to replace solar panels or grid power (it won’t).
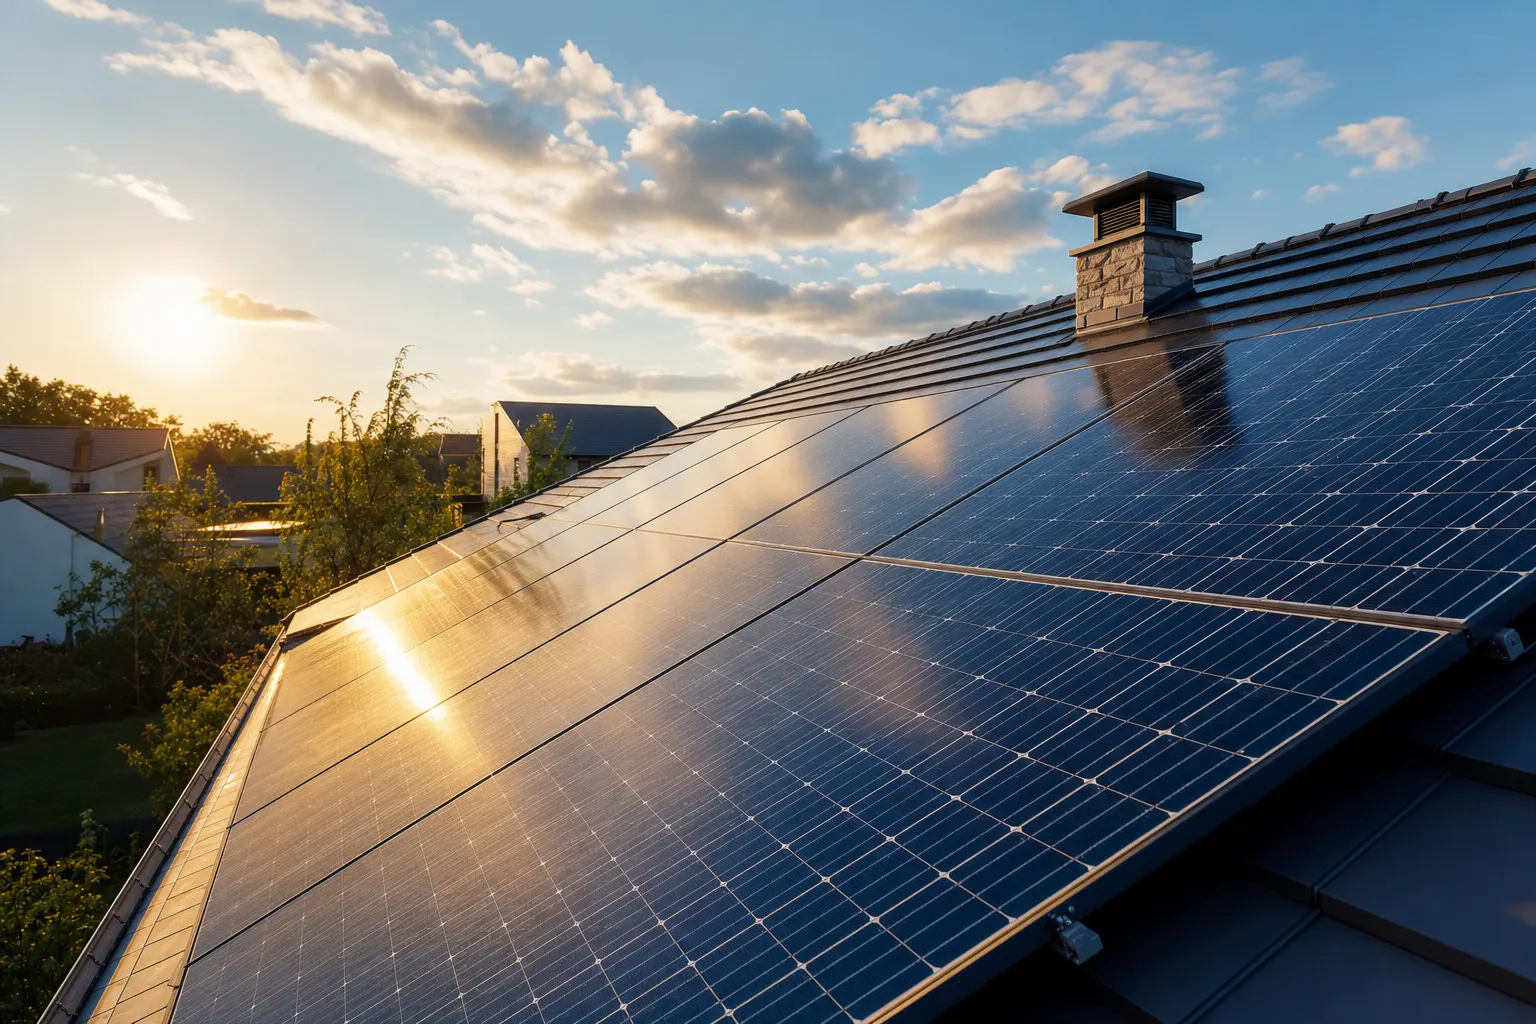
How Stirling engines pair with solar and batteries
Stirling and solar are complementary: solar dominates during sunny days; Stirling can provide backup power at night if you have continuous heat.
Solar thermal + Stirling hybrid
Mount a Stirling engine at the focus of a parabolic solar concentrator or Fresnel lens. The concentrated sunlight heats the hot side to 200–600°C, driving the engine.
Advantages:
- No fuel cost (sunlight is free).
- Can achieve higher efficiency than photovoltaic panels (theoretically 20–30%, though DIY builds get 5–15%).
- Fascinating hybrid of optical, thermal, and mechanical systems.
Disadvantages:
- Requires sun tracking (manual or motorized) for continuous operation.
- Works only in direct sunlight (cloudy days produce little power).
- Concentrators are bulky and expensive compared to PV panels.
Using wood/biomass when solar is insufficient
In winter or extended cloudy periods, a woodstove-coupled Stirling can supplement solar.
Example scenario:
- Summer: Solar provides 500Wh/day; stove unused; Stirling idle.
- Winter: Solar provides 100Wh/day; woodstove runs 10 hours/day for heating; Stirling adds 50–100Wh/day.
The Stirling doesn’t replace solar capacity, but it fills gaps when solar is weak and heating is needed anyway.
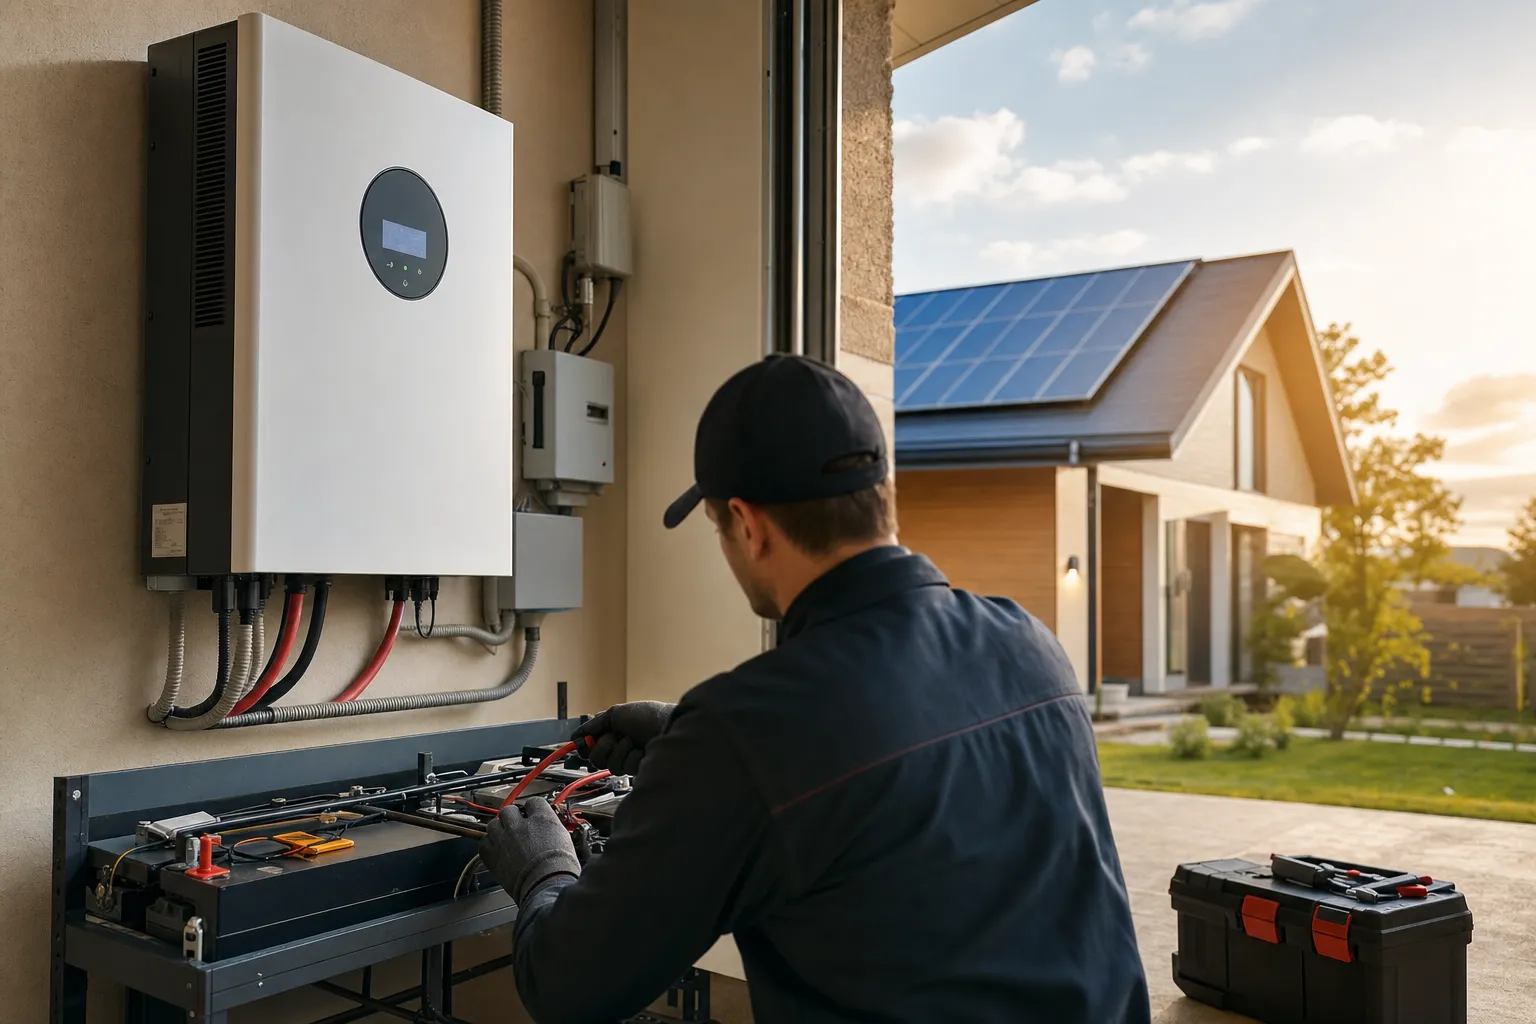
Shared battery bank design
Parallel charging architecture:
- Solar panels → MPPT controller → battery
- Stirling generator → voltage regulator → battery
- Loads and inverter → battery bus
Each charge source operates independently. Fuse and disconnect each source separately for safety and maintenance.
Combined heat and power concepts
The magic of Stirling CHP: the “waste” heat from the cold side is still useful energy.
Example: 500W fuel input, 25W electrical output (5% efficiency), 475W waste heat.
- Capture the 475W waste heat for space heating or water heating.
- Effective efficiency = (25W electrical + 475W useful heat) / 500W = 100%.
This is why Stirling CHP systems are used in some off-grid cabins and RVs: you’re heating the space anyway, so extracting a bit of electricity is a bonus.
FAQ: Stirling engine generators for off-grid power
Can a DIY Stirling engine replace solar panels?
No. Solar panels cost $0.30–$1 per watt and require no fuel. Stirling engines cost $10–$200 per watt to build and need continuous heat input.
Use Stirling as a supplement when you have free waste heat, not as a primary power source.
How much power can I get from a DIY Stirling engine?
Realistic expectations:
- Kit or small DIY build: 0.1–2W electrical
- Careful DIY (gamma or beta type): 5–25W electrical
- Advanced build (large displacement, optimized): 25–100W electrical
Compare to a single 100W solar panel costing $50–$100.
What’s the best heat source for a Stirling engine?
For DIY experimentation: propane or butane burner (clean, controllable, safe indoors with ventilation).
For off-grid use: woodstove or biomass (free fuel if you’re already heating with wood).
For fascinating hybrids: solar concentrator (no fuel cost, but only works in direct sun).
Do Stirling engines need maintenance?
Yes. Regular tasks include:
- Lubricating bearings and crankshaft (every 10–50 hours)
- Inspecting seals for wear (every 50–100 hours)
- Cleaning soot from hot-side surfaces (every 20–100 hours depending on fuel)
- Checking alignment and tightening fasteners (monthly if running frequently)
Why is Stirling engine efficiency so low?
Carnot efficiency sets a theoretical ceiling based on temperature difference. Real engines fall short due to:
- Seal friction and mechanical losses
- Heat leakage through cylinder walls
- Incomplete heat transfer between gas and walls
- Dead volume (non-working gas spaces)
High-end commercial Stirling engines (with regenerators and precision machining) can hit 15–25%. DIY builds typically achieve 5–10%.
Can I use a Stirling engine for emergency backup power?
Only if you have a reliable heat source (woodstove, propane, etc.) and accept low power output.
A gasoline generator provides 1,000–5,000W for $300–$1,000. A Stirling providing 25W costs $200–$500 to build and requires continuous heat.
Stirling makes sense for ultra-low-power backup (charging phones, running LEDs) when fuel is free.
What’s the difference between Stirling, steam, and internal combustion engines?
- Internal combustion: Burns fuel inside cylinder (car engine). High power density, high efficiency (25–40%), but needs specific fuel (gasoline, diesel).
- Steam engine: Burns fuel externally to boil water; steam drives piston. Fuel-flexible but bulky and inefficient (5–15%).
- Stirling engine: External combustion with sealed gas (air, helium). Fuel-flexible, quiet, but low efficiency (5–20%) and low power density.
Can Stirling engines run on solar thermal energy?
Yes. Mount the engine at the focal point of a parabolic dish or Fresnel lens. Concentrated sunlight can heat the hot side to 200–600°C.
This is called a dish-Stirling system. Some utility-scale solar farms use this technology, but DIY versions are challenging and expensive compared to photovoltaic panels.
How long do Stirling engines last?
With proper maintenance, a well-built Stirling can run for thousands of hours.
Wear items:
- Piston seals: 500–2,000 hours
- Bearings: 5,000–20,000 hours
- Cylinder walls: Essentially indefinite if lubricated
Commercial Stirling CHP units are designed for 40,000–80,000 hours (10–20 years of continuous operation).
Should I build a Stirling engine if I’m new to off-grid systems?
Start with a kit to learn the physics before attempting from-scratch fabrication.
If your goal is practical power, invest in solar panels and batteries instead.
If your goal is education, mechanical skills development, and understanding thermodynamics, Stirling engines are one of the most rewarding projects you can attempt.
Suggested images & diagrams
- Diagram: Stirling cycle phases (isothermal expansion, isochoric cooling, isothermal compression, isochoric heating).
- Cross-section: Beta or gamma Stirling engine showing displacer, power piston, hot/cold zones.
- Chart: Carnot efficiency vs temperature difference (showing theoretical ceiling).
- Table: Example builds with heat input, efficiency, and electrical output.
- Photo: Kit Stirling engine assembled (illustrative, educational).
- Diagram: Stirling generator system (heat source → engine → generator → voltage regulation → battery).
- Illustration: Solar-thermal Stirling hybrid (parabolic concentrator + engine).
Next logical reads
DIY off-grid energy experiments (pillar) → Thermoelectric generator guide → Pedal power generator guide → Micro-hydro basics guide → Battery capacity calculator → Wire sizing guide → System sizing guide →