DIY Pelton Turbine Pico Hydro: Simple Runner Build + Realistic Watts
Build a safe DIY Pelton-style pico hydro turbine for learning and trickle charging: nozzle sizing, spoon-bucket runner concepts, realistic power math from head + flow, wiring protection, and how to pair hydro experiments with solar batteries.
Key takeaways
- Your maximum power is set by site physics: watts ≈ 9.81 × head(m) × flow(L/s) before losses.
- Pelton-style turbines like higher head (pressure) and lower flow compared to water wheels.
- The DIY goal is a stable jet + controllable load so you can measure real watts, not just open-circuit voltage.
- Pair with solar using a battery-first approach: regulation, fusing, and realistic expectations.
Table of contents
- Beginner explanation
- Site check: head, flow, and seasonality
- How a Pelton turbine works
- A practical DIY build (Version 1 → Version 3)
- Nozzles, pipe, and “why my jet is weak”
- Realistic power math (with examples)
- Charging a battery safely
- Common mistakes
- Safety and limitations
- How it pairs with solar
- Troubleshooting
- FAQ
Beginner explanation: what “pico hydro” actually means
Pico hydro usually means “small enough to be a DIY experiment,” often from a few watts to a few hundred watts. It’s not magic. You’re converting gravity potential energy in water (height) into electrical power.
Two ideas keep expectations honest:
- Head is pressure from height (how far the water drops).
- Flow is how much water per second you can move through a nozzle.
A Pelton turbine prefers a strong, fast jet. That generally means you have some usable head (even 5–30 meters is common in “small but real” sites), and your flow is moderate.
If you’re new to watts vs watt-hours, read solar basics and use the battery capacity calculator so your hydro experiment is grounded in daily energy needs.
Site check: head, flow, and seasonality
Measure head the simple way
You can estimate head with a hose and a pressure gauge, or by measuring elevation difference between intake and turbine with mapping tools. For DIY, you don’t need survey-grade numbers — you need “is this 2m, 10m, or 50m?”
- Low head (0.5–3m): a water wheel or low-head turbine tends to make more sense.
- Medium head (3–20m): small turbines can work; pipe friction becomes important.
- Higher head (20m+): Pelton-style designs become attractive (and the jet can be dangerous).
Estimate flow without fancy tools
Use a bucket-and-timer test at the intake point if possible. If the stream is too large, test a small diversion line: you care about the flow you can safely and legally capture.
- Measure bucket volume (liters).
- Time how many seconds it takes to fill.
- Flow (L/s) = liters ÷ seconds.
Reality check: seasonality and debris
Hydro output can vary massively by season. In many places, summer flow is a fraction of spring flow. Also plan for debris: leaves, sand, and ice are “hydro taxes” that show up as clogged intakes and eroded nozzles.
How a Pelton turbine works (the short, useful version)
A Pelton turbine is an “impulse turbine.” Water exits a nozzle as a high-speed jet, hits the runner buckets, and transfers momentum. Unlike a water wheel that is pushed by slow-moving water, a Pelton runner is driven by jet velocity.
What the buckets do
Efficient Pelton buckets split the jet and turn it nearly 180°. That direction change is the whole trick: changing momentum gives you force on the wheel. DIY versions often use “spoon buckets” or 3D-printed cups to approximate this.
Where the losses come from
- Pipe friction (long/skinny pipe turns head into heat).
- Nozzle losses (a poor nozzle makes a spray, not a jet).
- Runner splash (water hits wrong angle or re-hits buckets).
- Bearing and generator losses.
- Electrical mismatch (wrong load: you “stall” the turbine or spin it unloaded).
A practical DIY build (Version 1 → Version 3)
Start with a measurement-focused build. Your first win is not “charging a big battery.” Your first win is: repeatable RPM and repeatable watts from a known head and flow.
Version 1: the runner + safe test stand (learning build)
- Runner: a small disk (plywood, aluminum, or 3D print) with spoon-like cups evenly spaced.
- Shaft: straight rod with real bearings (skate bearings can work at low loads).
- Containment: a splash box or tote bin so water is captured and the jet can’t wander.
- RPM measurement: cheap optical tachometer or magnet + hall sensor.
Drive it with a hose or a small pump at modest pressure first. The goal is to check balance, splash behavior, and mounting rigidity.
Version 2: add a generator and load control
You need a way to convert rotation into electricity and a way to control the load. A practical DIY approach is a permanent-magnet DC motor used as a generator, plus a load you can adjust.
- Generator: PMDC motor, treadmill motor, or scooter motor.
- Coupling: belt drive so you can change ratio easily.
- Load: a DC buck converter feeding a resistive load, or a dump-load resistor bank.
- Instrumentation: a DC watt meter (volts, amps, watts) on the output.
Avoid “voltage only” testing. Open-circuit voltage is easy to get and tells you almost nothing about usable power.
Version 3: move to real water with proper intake basics
- Intake: screened to keep out rocks and leaves.
- Settling: if you have sand, consider a small settling bucket or strainer stage.
- Penstock (pipe): sized to reduce friction losses.
- Nozzle: a stable jet you can aim and adjust.
If you want the “bigger picture” first, read micro-hydro basics before committing to pipe length and diameter.
Nozzles, pipe, and “why my jet is weak”
Your nozzle diameter controls flow (and jet quality)
A smaller nozzle increases jet velocity for a given pressure, but it also reduces flow. A larger nozzle increases flow, but if your pipe and head can’t support it, the jet turns into a sad spray.
For DIY learning, it’s helpful to build a nozzle block where you can swap tips (different drilled sizes) and record watts for each. This turns your turbine into a science experiment instead of a one-shot project.
Penstock friction is the invisible thief
Long, narrow pipe can eat your available head before the nozzle. The symptom is familiar: your intake has head, but the nozzle pressure is low.
- Shorter pipe helps.
- Bigger diameter helps (often more than you expect).
- Smoother pipe and fewer sharp elbows help.
Use a pressure gauge at the nozzle if you can
A small gauge near the nozzle is one of the most useful debugging tools. It tells you whether your issue is “not enough head/flow” or “mechanical/electrical mismatch.”
Realistic power math (with examples)
The simplest hydro estimate is:
Hydraulic power (W) ≈ 9.81 × head(m) × flow(L/s)
That is the power in the water before turbine and electrical losses. A DIY system might end up at 20–60% overall efficiency depending on build quality and operating point.
Example 1: “Small but real” creek site
- Head: 12m
- Flow: 1.5 L/s
Water power ≈ 9.81 × 12 × 1.5 ≈ 176W. If your total efficiency is 40%, you might see ~70W electrical on a stable load.
70W continuous is ~1.68 kWh/day. That’s meaningful for lights, device charging, and small refrigeration — but only if flow stays consistent.
Example 2: Backyard experiment with a tank
- Head: 3m
- Flow: 0.5 L/s
Water power ≈ 9.81 × 3 × 0.5 ≈ 15W. At 30% overall efficiency, that’s ~5W electrical. It’s a great experiment, but it won’t charge a large battery quickly.
Why “RPM” and “voltage” can mislead you
A turbine can spin fast with almost no load, producing impressive voltage. But real power requires current. The moment you connect a real load, the turbine slows — and your job is to match the load so you get the most watts without stalling.
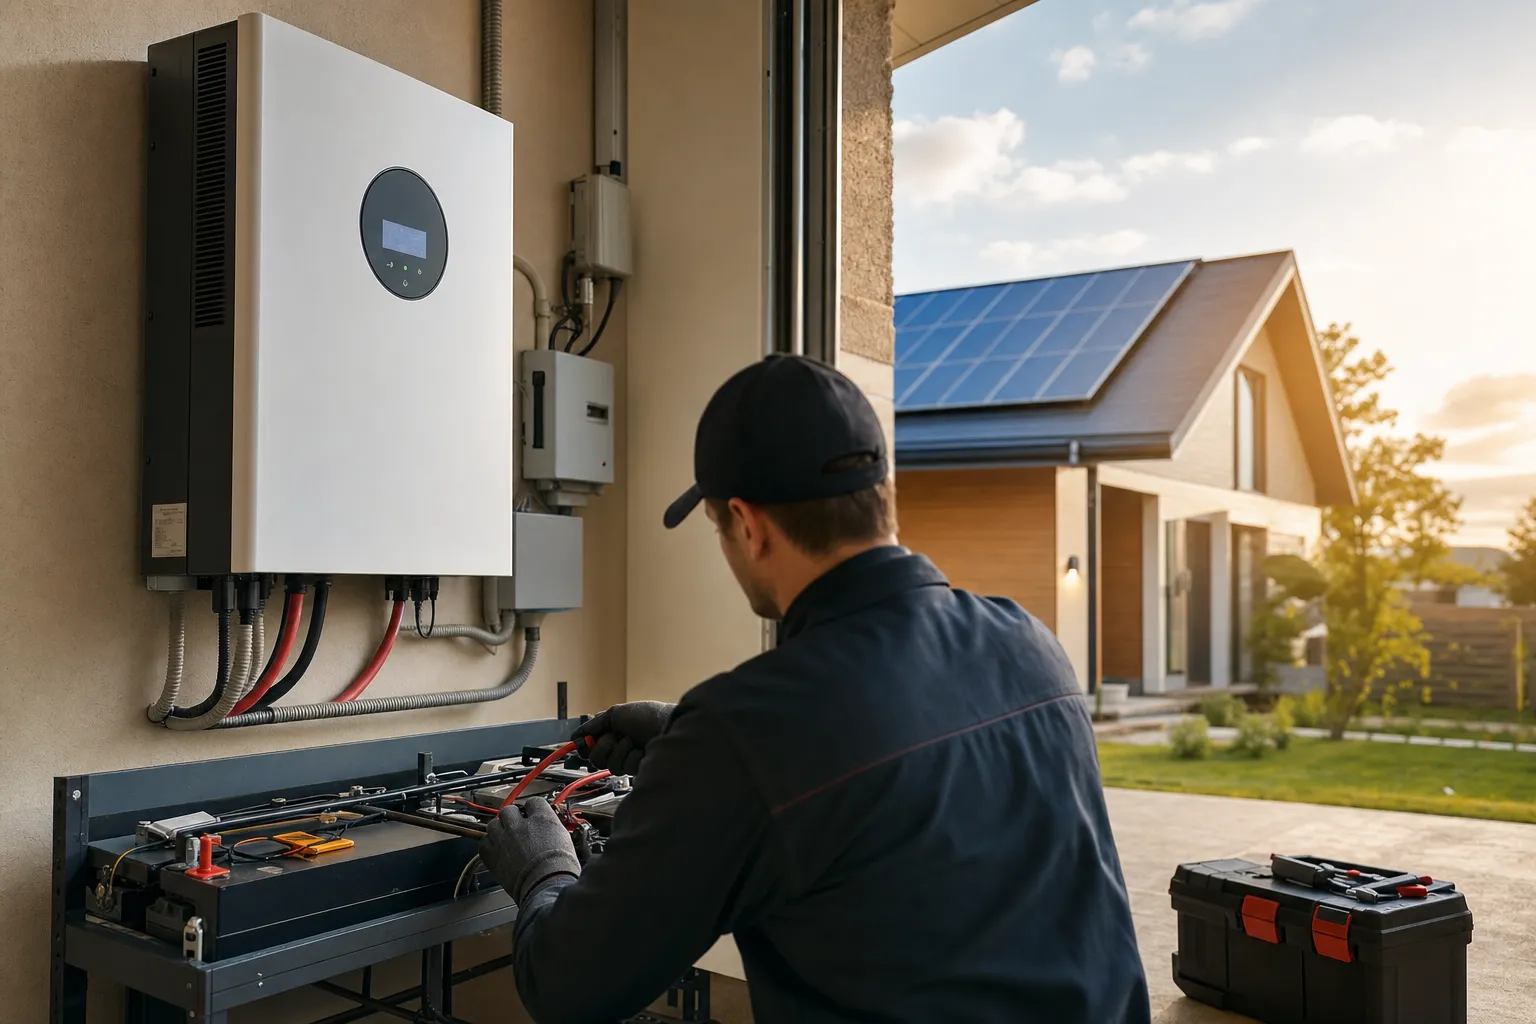
Charging a battery safely (the battery-first approach)
If you want to store your energy, don’t connect an unpredictable DIY generator directly to a battery and hope. Use regulation, protection, and a wiring layout you trust.
Minimum safe architecture
- Generator → rectifier (if AC) → regulator/charger → fuse → battery.
- Dump load or current limiting so runaway voltage doesn’t cook electronics when the battery is full.
- Disconnect so you can stop the experiment instantly.
For protection fundamentals, see fuse and breaker sizing and the wiring decisions checklist.
Don’t skip wire size
Small systems often run at low voltage (12V), which means higher current for the same power. Voltage drop and hot wires show up fast. Use the wire size guide and keep cable runs short.
Common mistakes
- Designing around “rated watts” instead of measured head + flow at your site.
- Undersized pipe that turns head into friction loss before the nozzle.
- Testing with no load and believing voltage equals power.
- Weak mounting that lets the jet wander or the runner wobble.
- No intake screening (one leaf can end your whole day).
Safety and limitations
Jet safety and containment
A high-head jet can cut skin and inject debris. Treat it like a pressure washer. Use a splash box, point the nozzle into containment, and keep your hands away from the jet path.
Spinning parts and belt drives
- Guard belts and couplers.
- Stop the experiment before adjusting anything.
- Balance the runner; don’t “push through” vibration.
Electrical safety
Even “small” systems can create dangerous currents. Fuse close to the battery, and use a disconnect. If you’re unsure, treat the project as a measurement demo (no battery) until you’re confident.
Watts vs watt-hours refresher → Solar components (and why regulators matter) →
How it pairs with solar
Hydro and solar complement each other when they’re both treated as charge sources into a battery system: solar is predictable day-to-day, while hydro can be 24/7 when conditions are right.
- Use hydro as a baseline trickle that reduces battery cycling depth.
- Use solar as the bulk energy provider during sunny periods.
- Combine sources with a clear architecture (not a tangle of wires).
If you want a clean mental model for combining sources, read the hybrid charge controller guide.
Troubleshooting
My turbine spins fast but produces almost no usable watts
- Add a real load and measure watts; open-circuit voltage doesn’t count.
- Increase drive ratio so the generator is in its useful RPM range.
- Check jet alignment: the jet should hit the bucket at the right point consistently.
My jet turns into spray
- Check for air leaks upstream (air makes the jet unstable).
- Reduce nozzle diameter and test again.
- Check that your pipe diameter isn’t choking flow.
Power rises then falls as I load it
That’s normal. There’s a “sweet spot” where turbine speed and load match. If you overload it, RPM collapses and watts can drop. Use adjustable loading so you can find the best operating point.
FAQ
How much power can a DIY Pelton turbine make?
It depends on head and flow. Use watts ≈ 9.81 × head(m) × flow(L/s), then multiply by an efficiency estimate. Many DIY builds land in the tens of watts unless the site has strong head and consistent flow.
Is a Pelton turbine better than a water wheel?
Pelton-style turbines generally win when you have higher head and can make a fast jet. Water wheels are often better for very low head where you have lots of slow flow.
Can I charge a 12V battery directly from the generator?
It’s risky. Generator voltage and current change with RPM and load. Use a proper charging stage, fusing near the battery, and a way to prevent overvoltage when the battery is full.
What’s the simplest way to increase output?
Reduce losses first: larger pipe (less friction), a cleaner nozzle jet, better bearings, and better load matching. “More buckets” rarely fixes a poor jet or undersized penstock.
Where should I start if I’m totally new?
Start with micro-hydro basics, then build a measurement-focused Version 1 runner so you can learn safely before integrating batteries.